setup using the management console
The first thing a developer should do in the Management Console is to create a namespace and register master data. These can be created in the Management Console.
Select Region
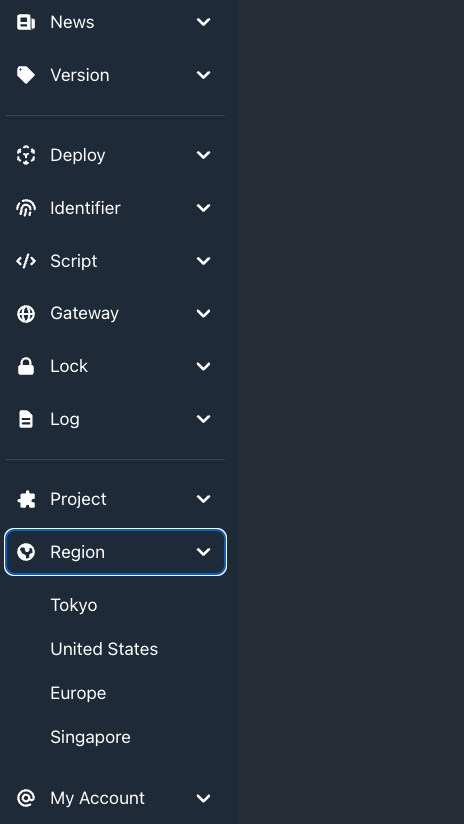
Below the side menu, there is a region menu. From here you can select the region in which you want to operate microservices.
Create a namespace
Log in to the Management Console and select Microservices.
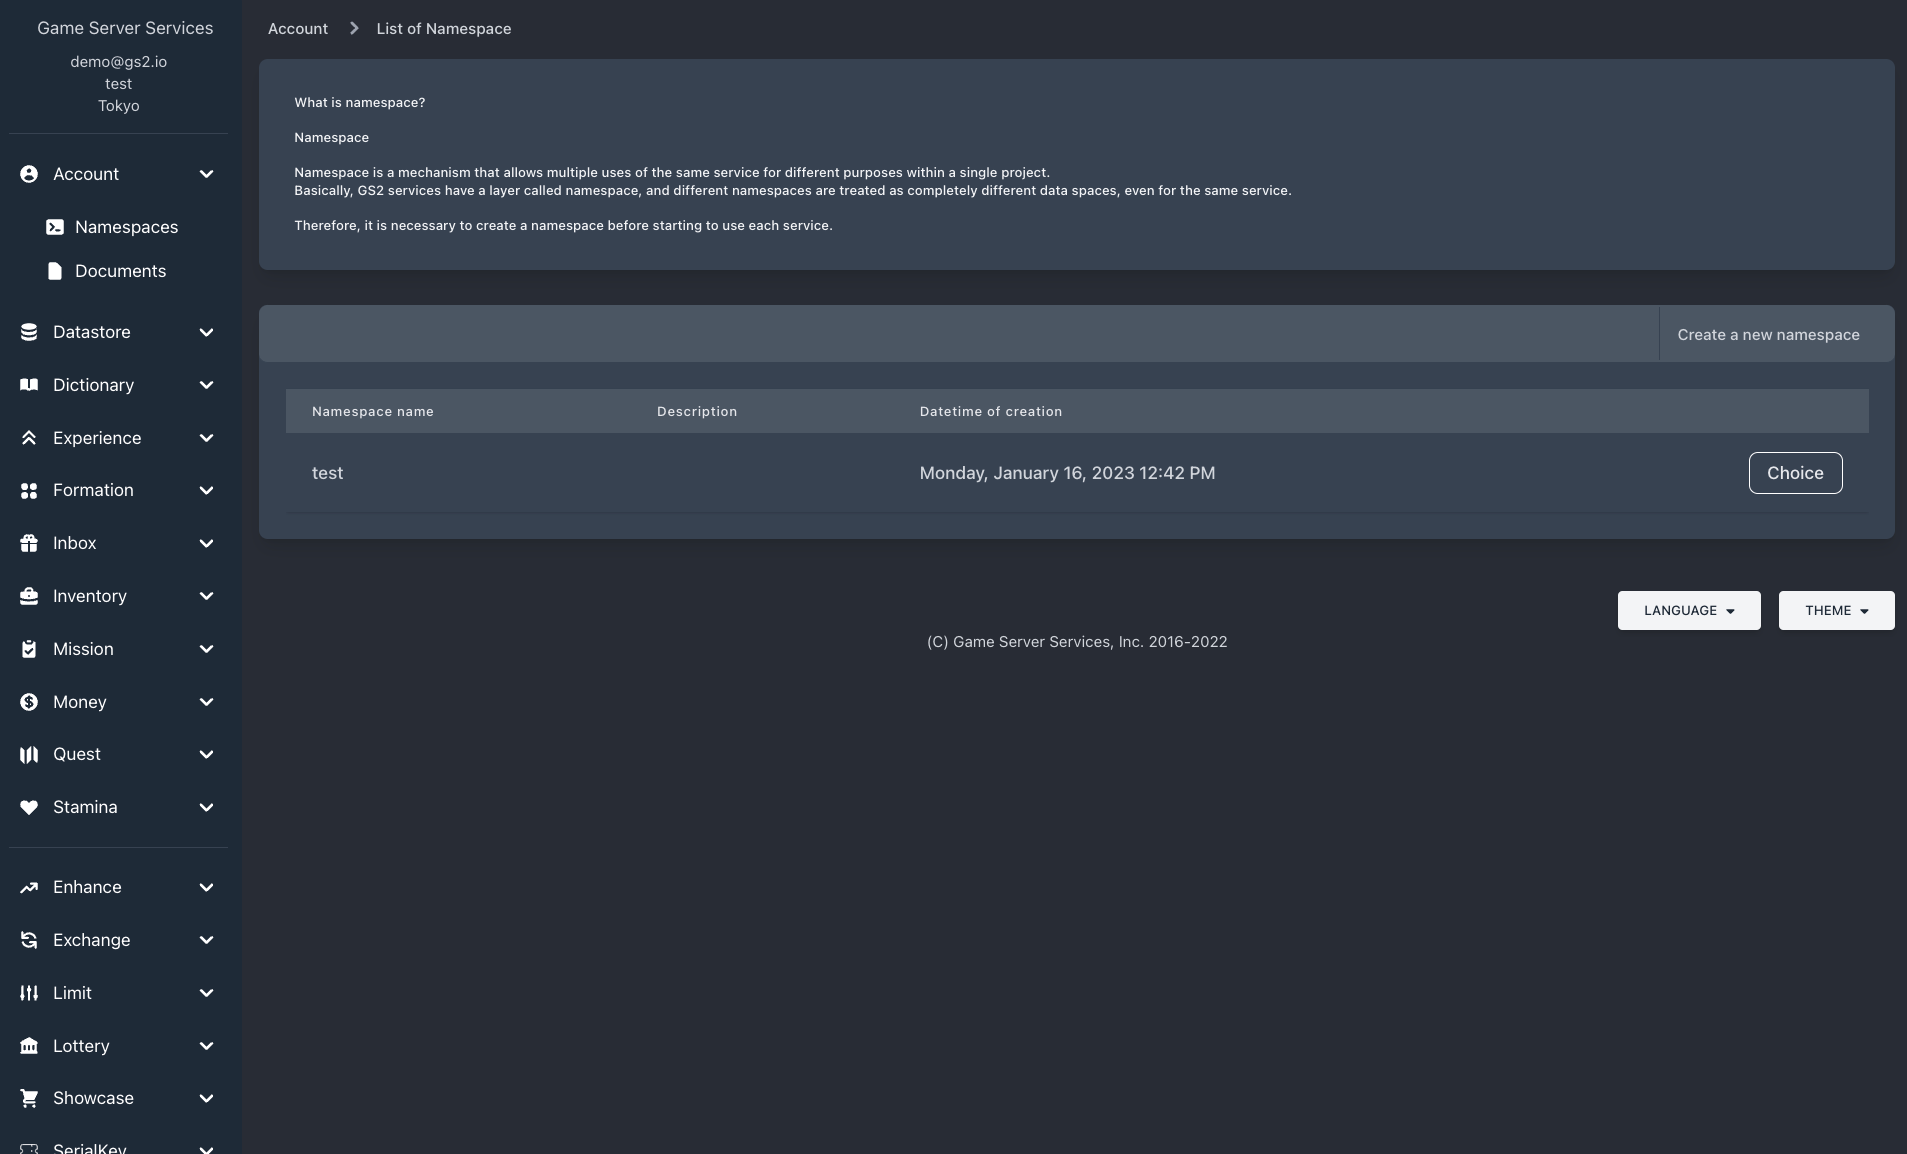
When the list of namespaces appears, create a new namespace.
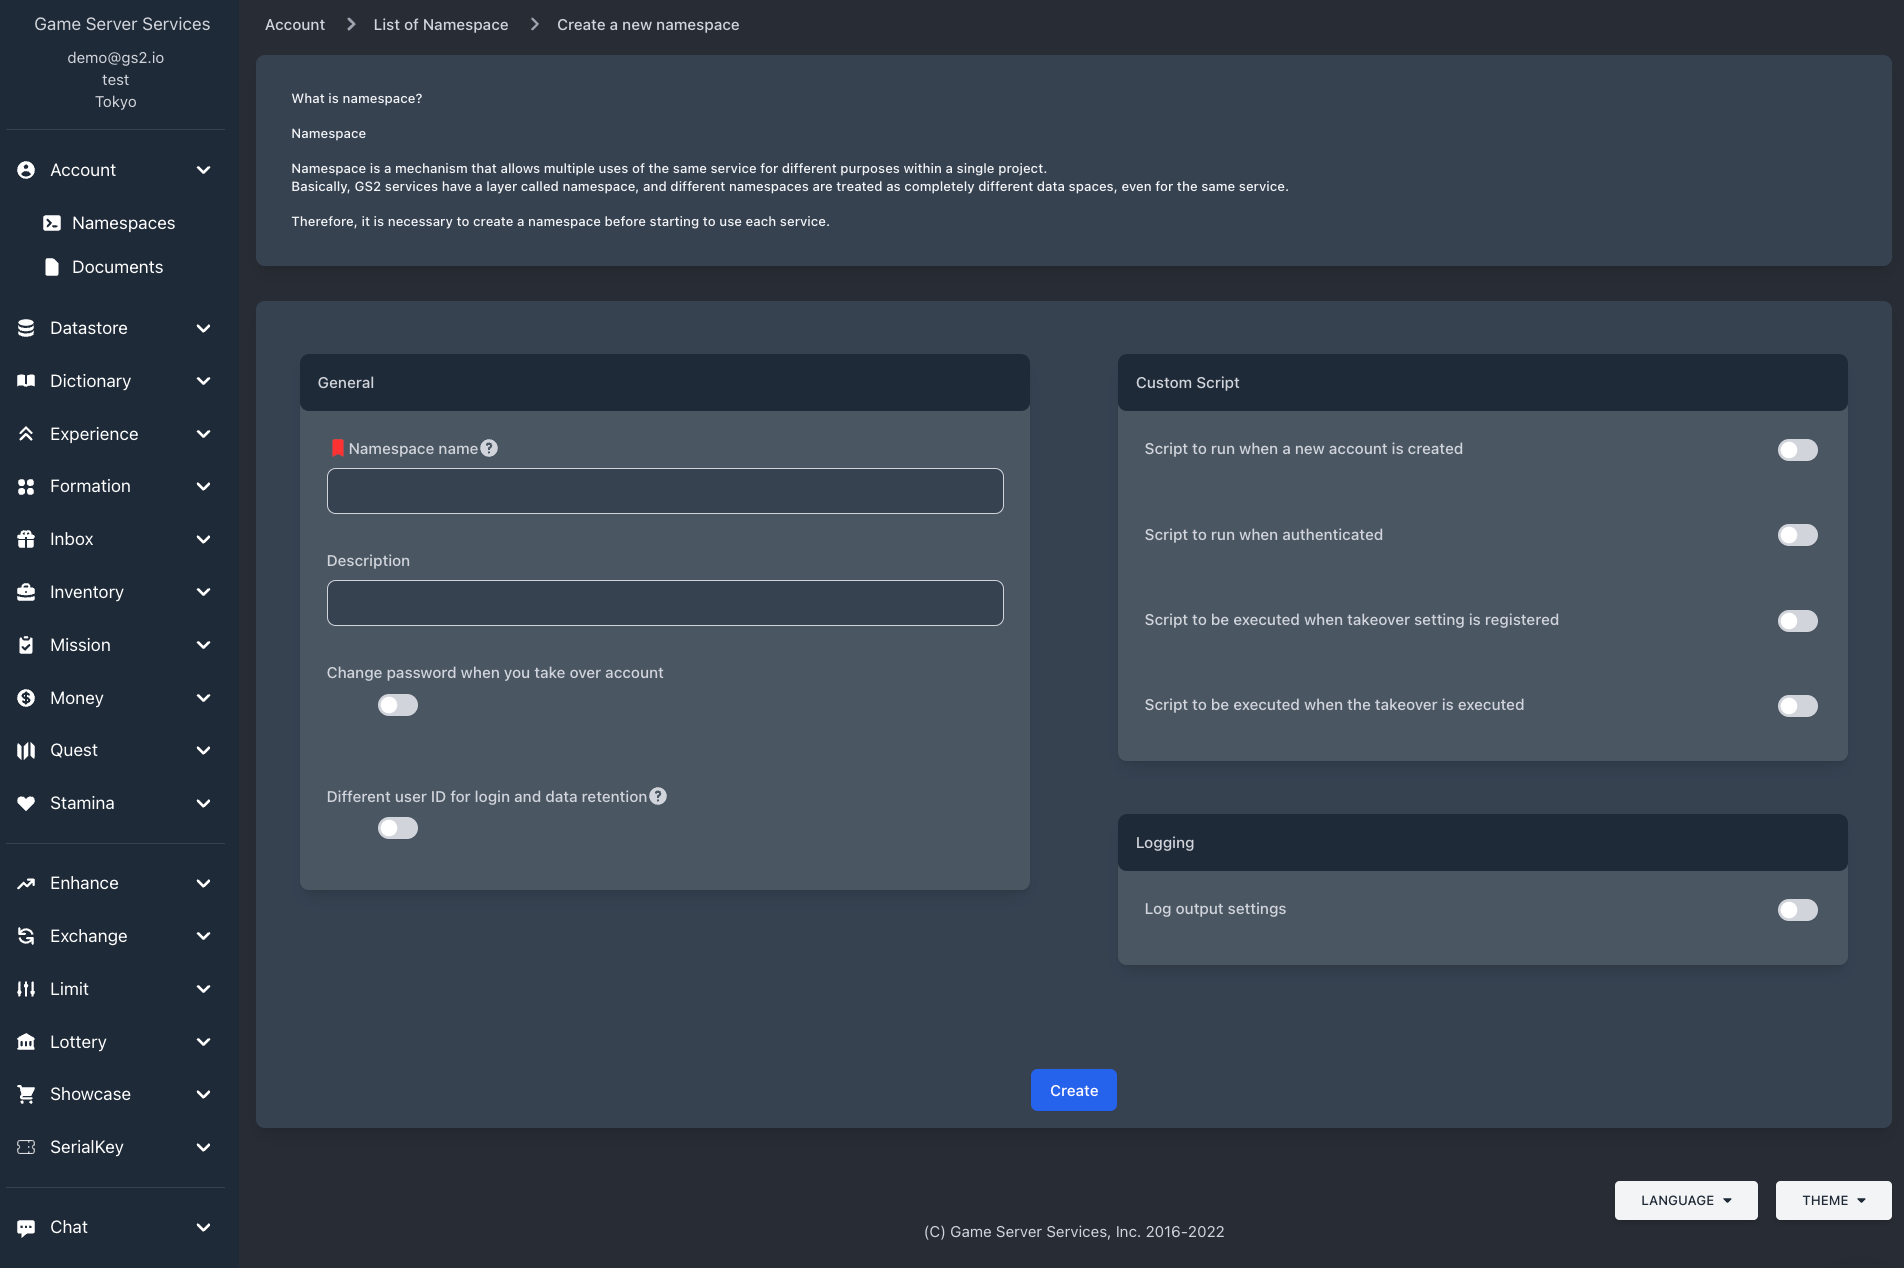
Enter values in the configuration fields and confirm them to complete the creation of the namespace.
Register master data
Some microservices require master data to be registered before using their functions.
For microservices that require master data registration, there is a tab titled “Master Data” on the namespace detail page.
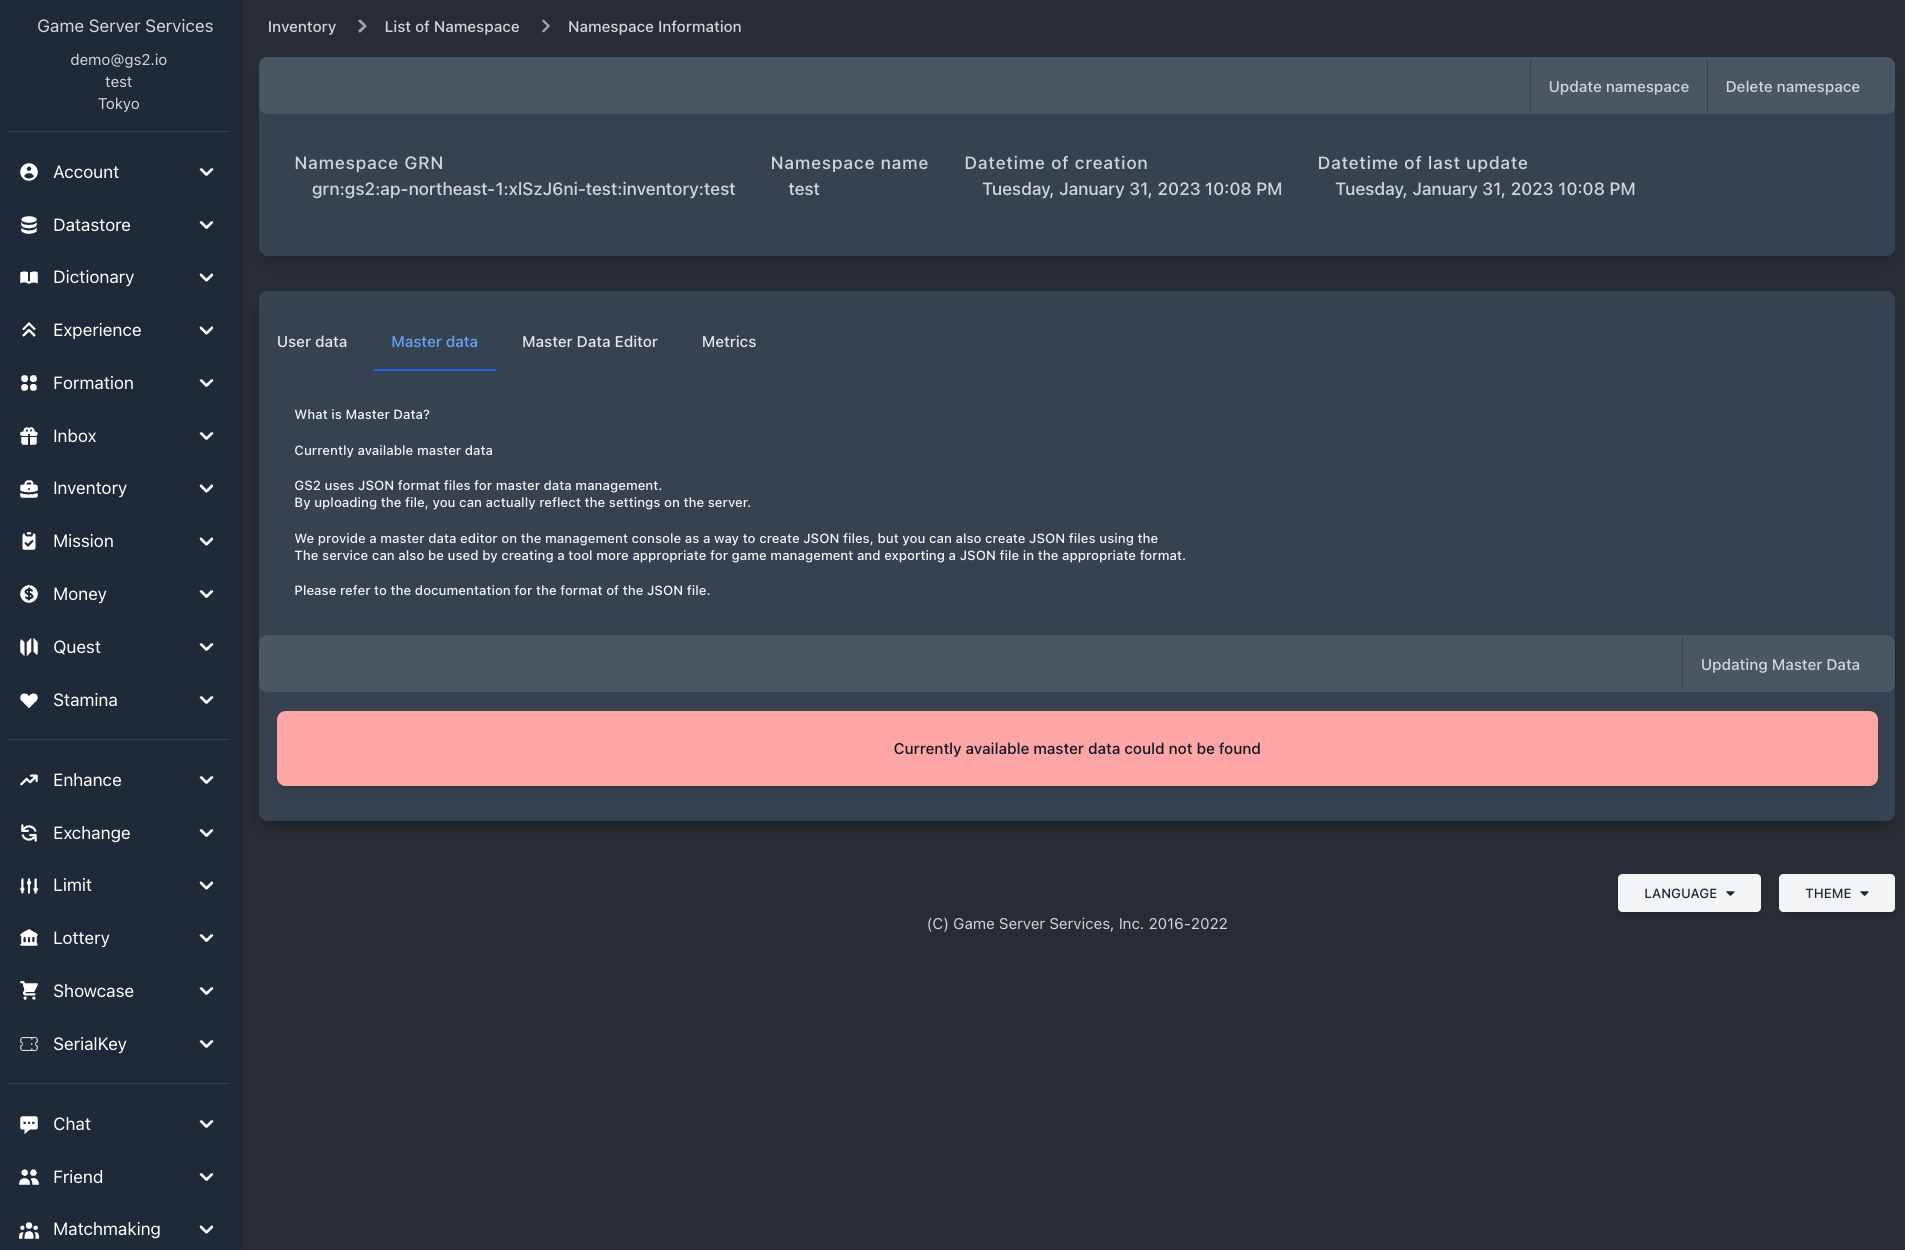
When you select the tab, you will see an error message like “Currently available master data could not be found,” indicating that master data has not yet been registered.
Using the Master Data Editor
The Master Data Editor can be used to create master data.
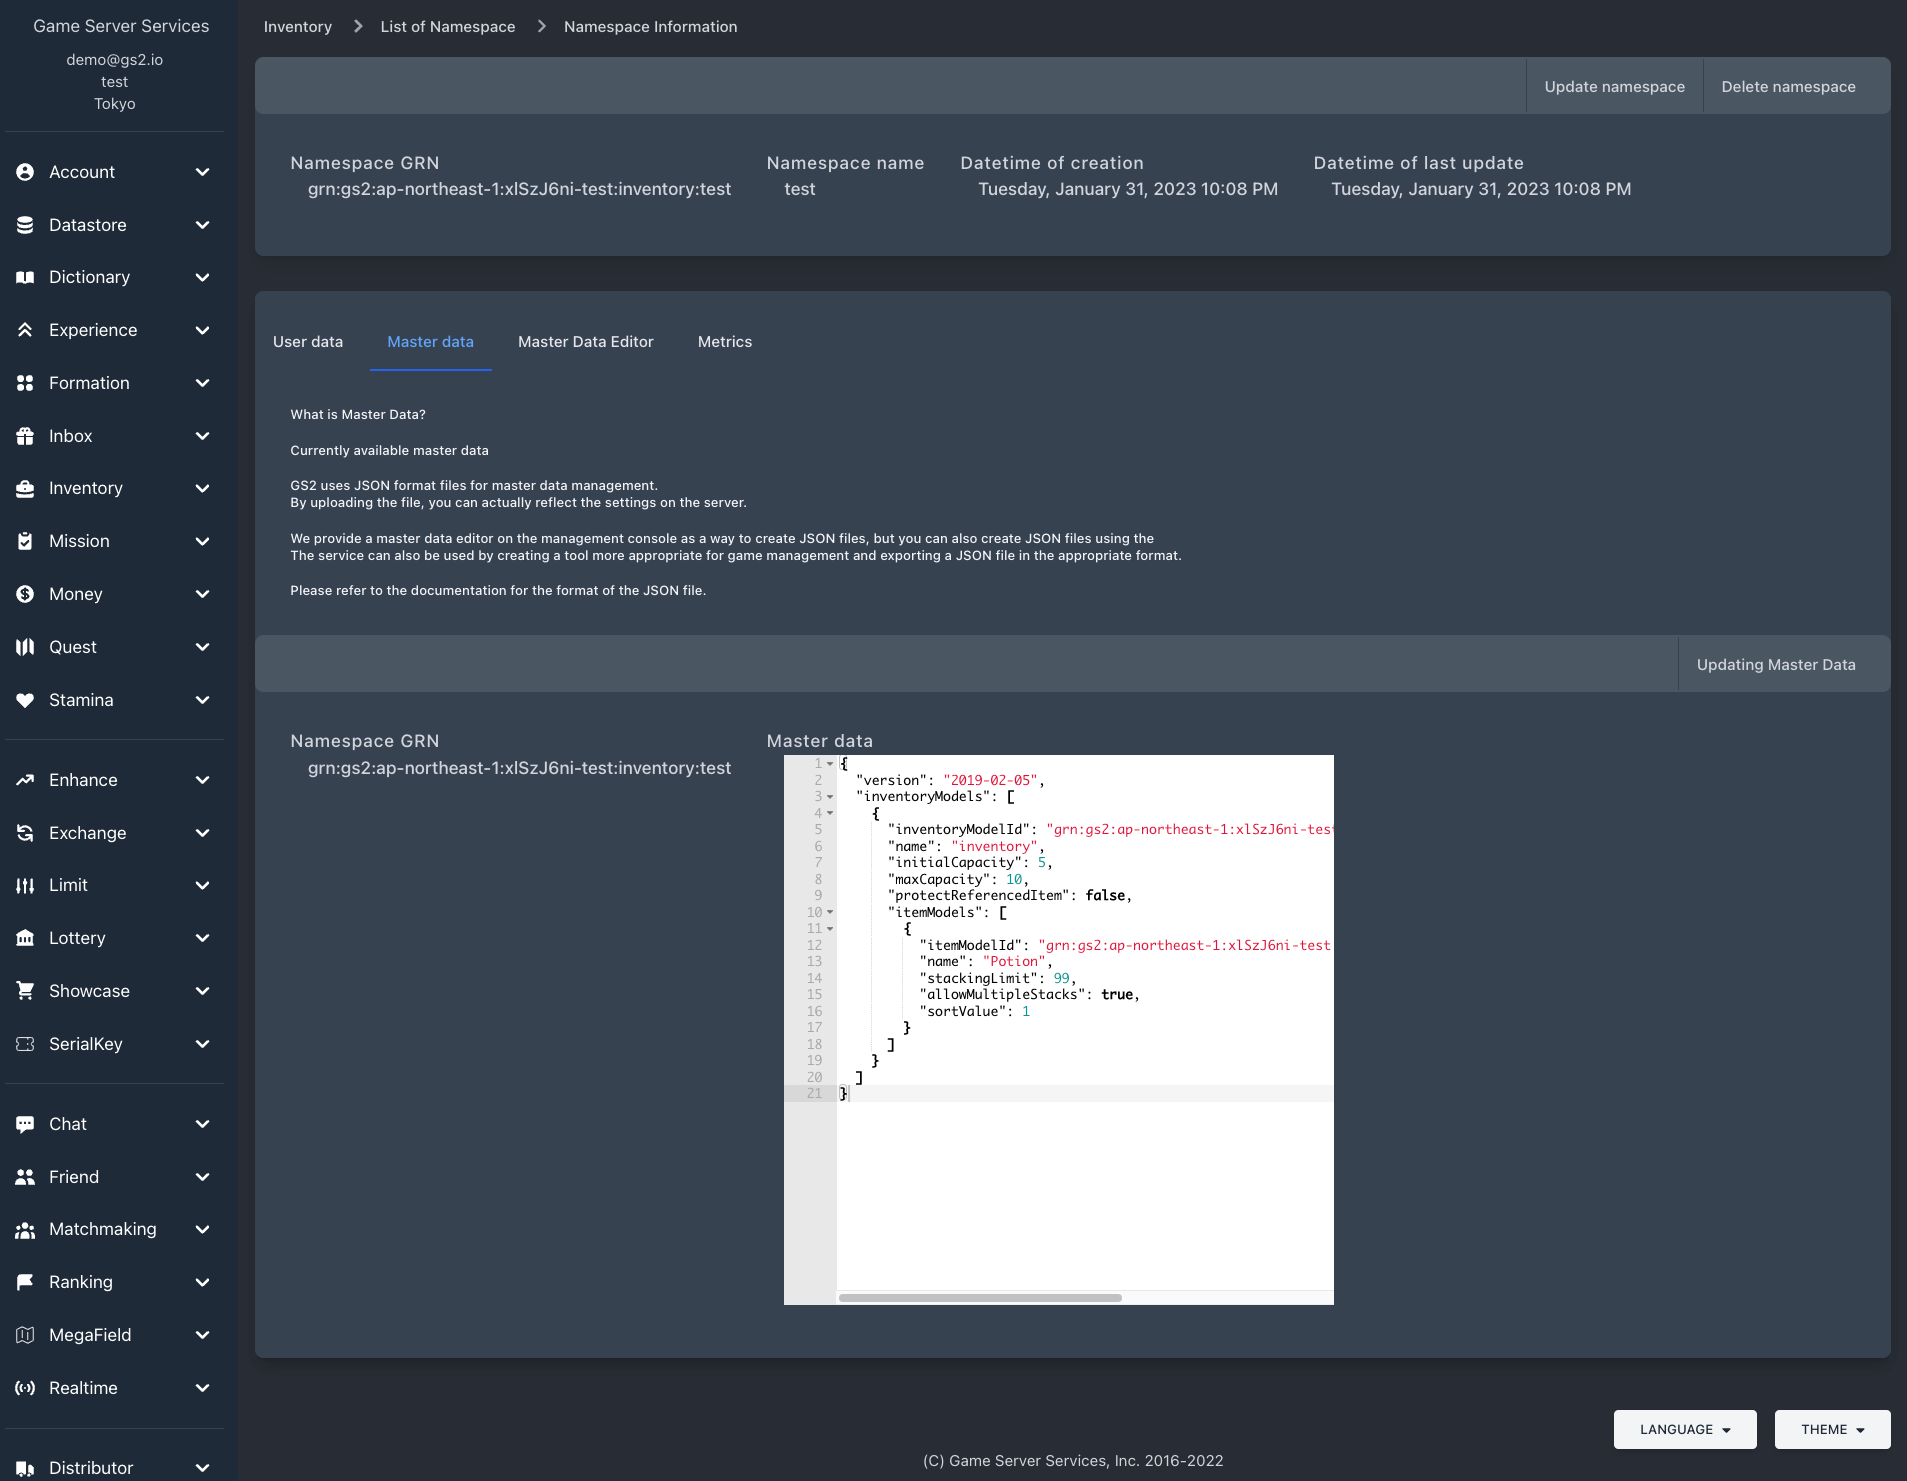
Select the “Master Data Editor” tab on the namespace detail page.
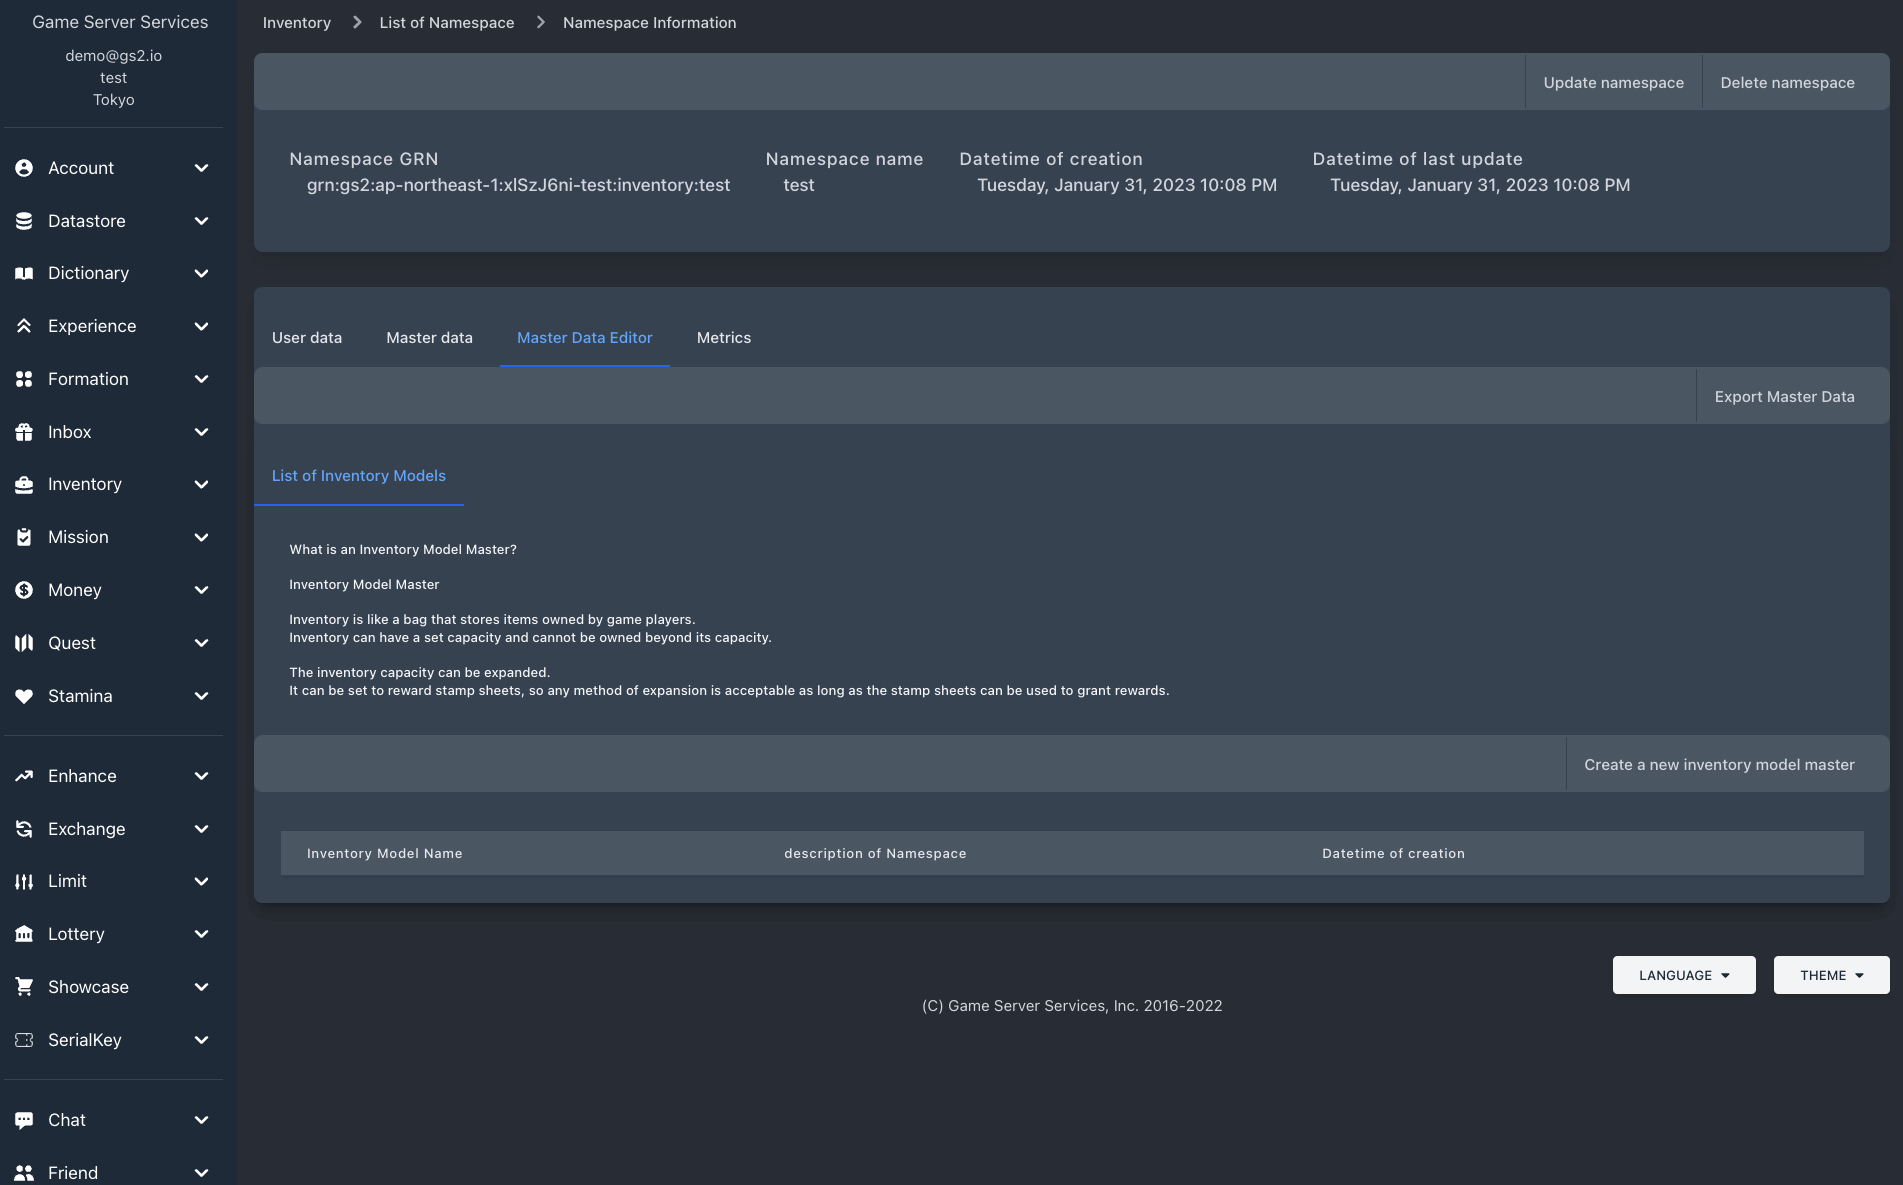
This screenshot is an example from GS2-Inventory. To illustrate the creation of master data, let’s explain what kind of master data GS2-Inventory needs.
class InventoryModel {
  +string Name
  +int Initial size
  +int Maximum size
}

class ItemModel {
  +string Name
  +int Maximum stackable quantity
  +bool Allow items to be stored in multiple slots when the maximum stackable quantity is exceeded?
  +int display order
}

Namespace "1" *-- "many" InventoryModel
InventoryModel "1" *-- "many" ItemModel
GS2-Inventory requires the definition of an Inventory with a capacity limit and an Item that can be stored in the Inventory. The inventory has an initial capacity and a maximum capacity; the item specifies the maximum number of items that can be stacked in a capacity and whether a second stack is created when the number of items in the inventory reaches the maximum number of items that can be stacked.
Creating an Inventory Model
First, create an Inventory Model using the Master Data Editor.
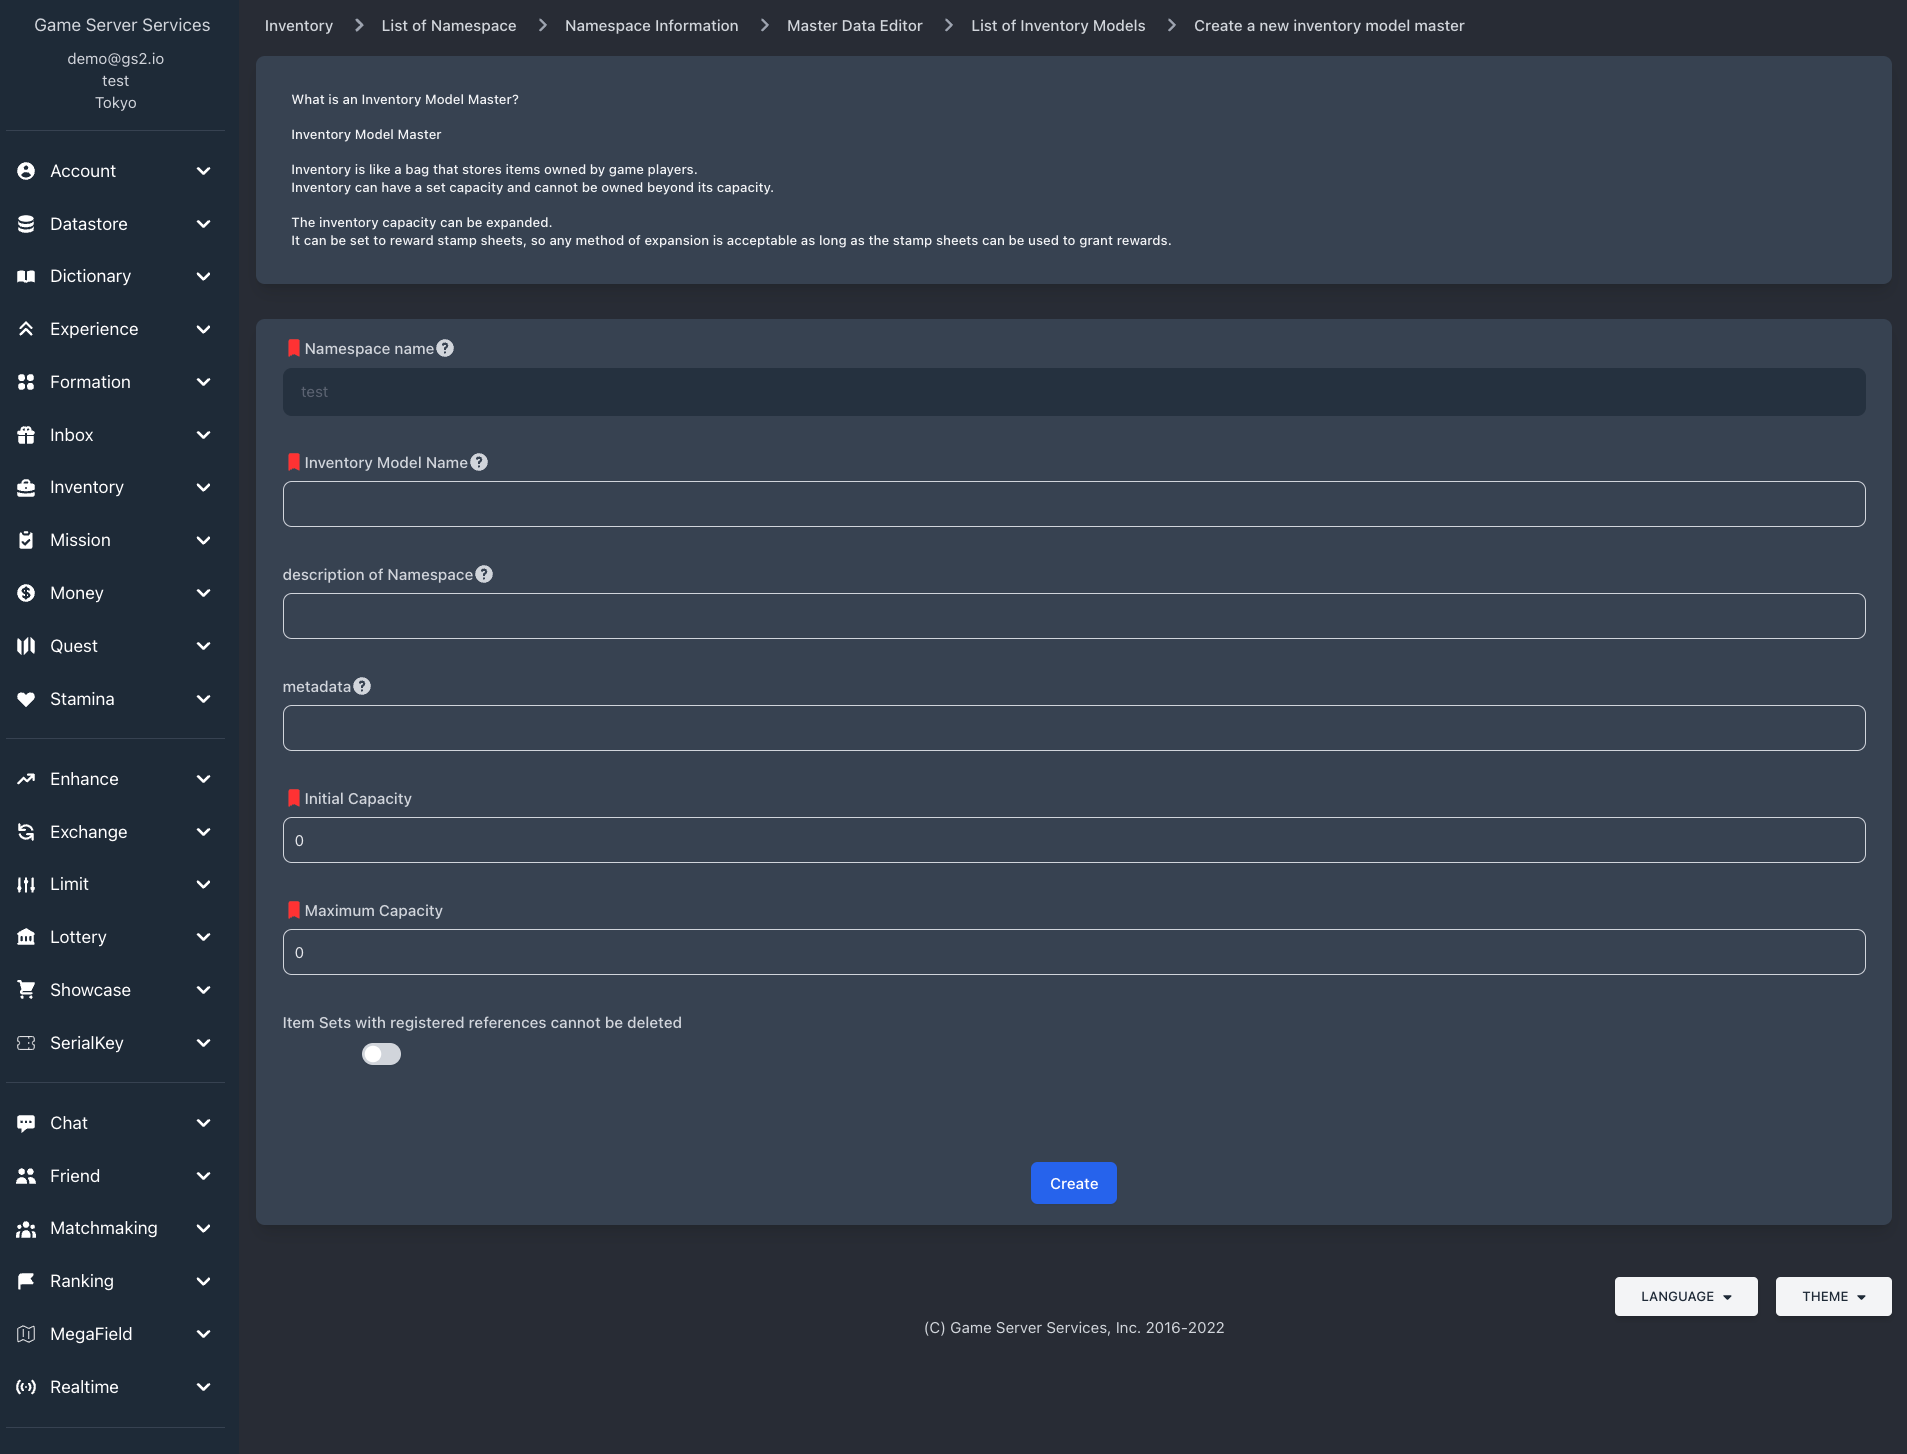
Enter values for each item and press the Create button.
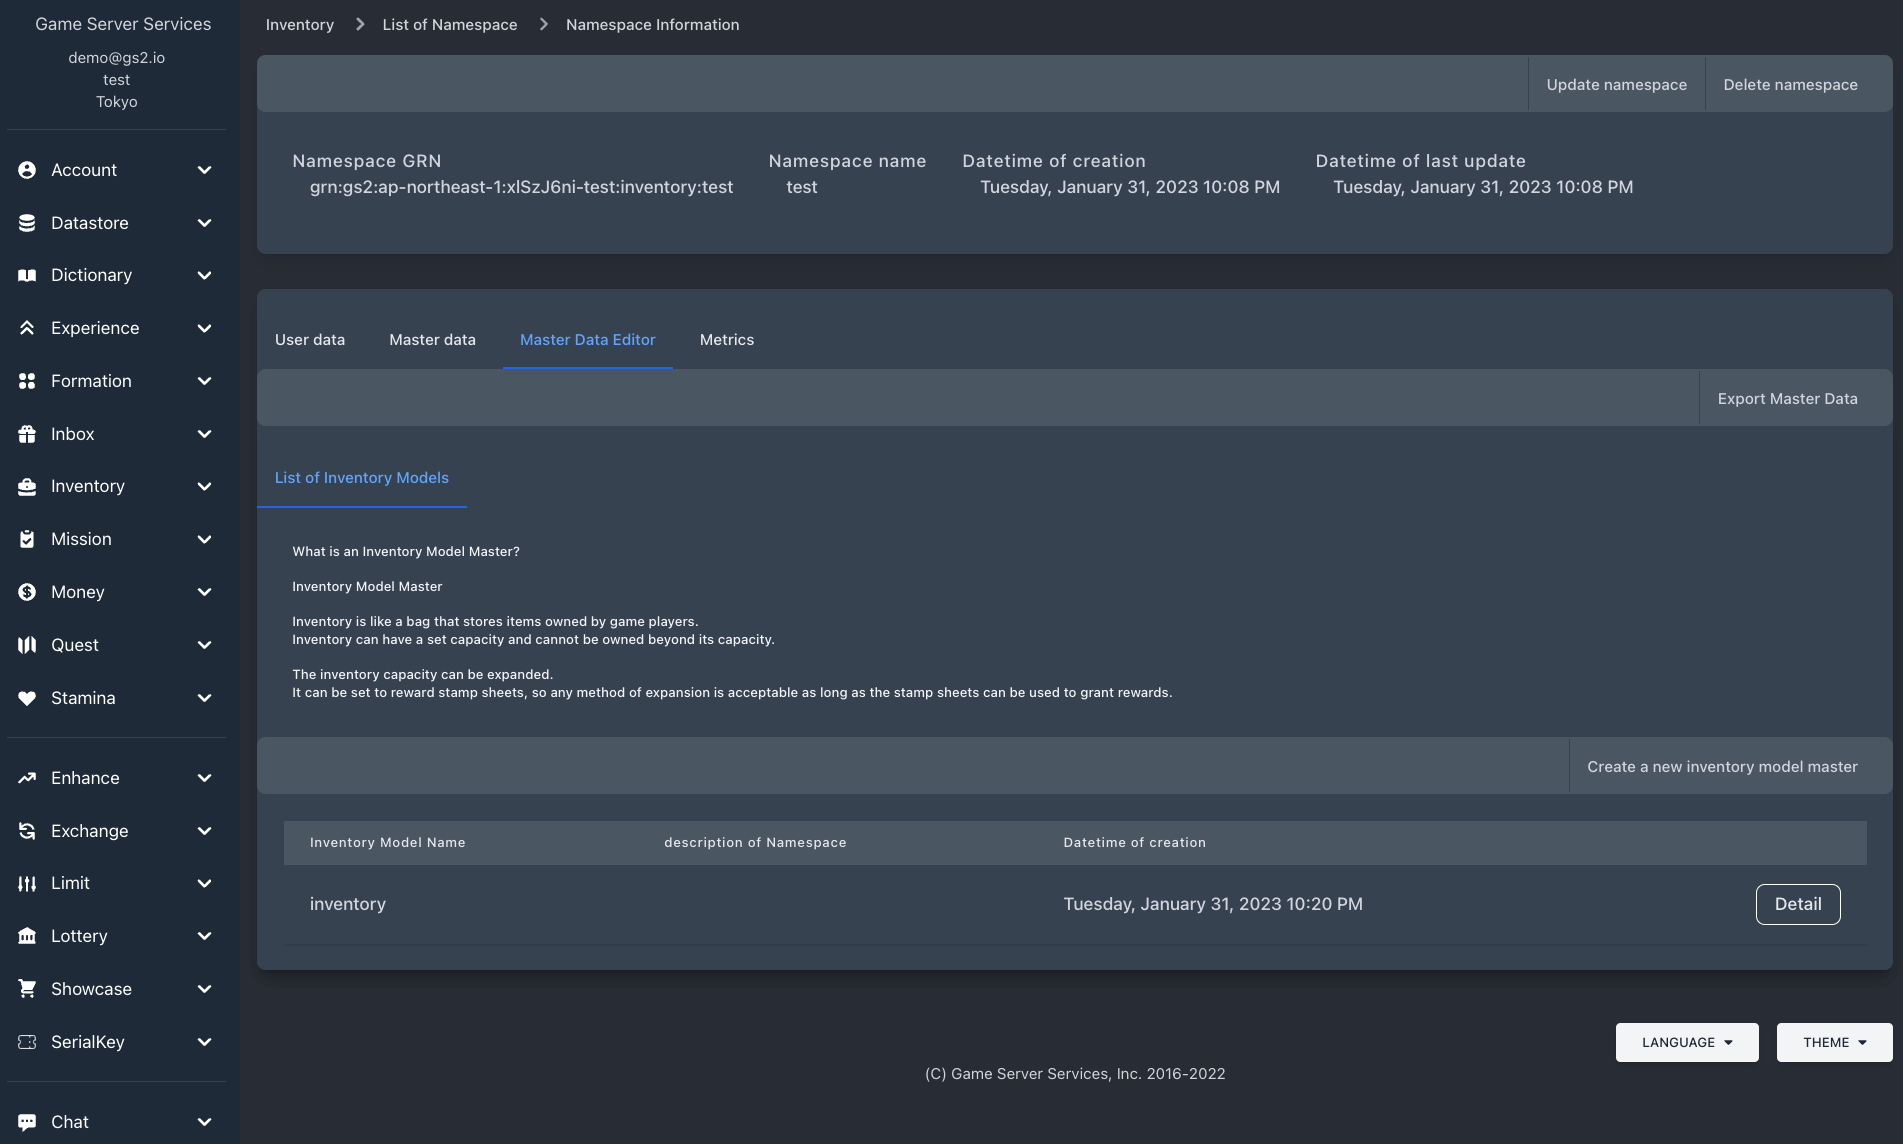
Once added to the list of Inventory Models, select the created Inventory Model to open the detail page.
Creating an Item Model
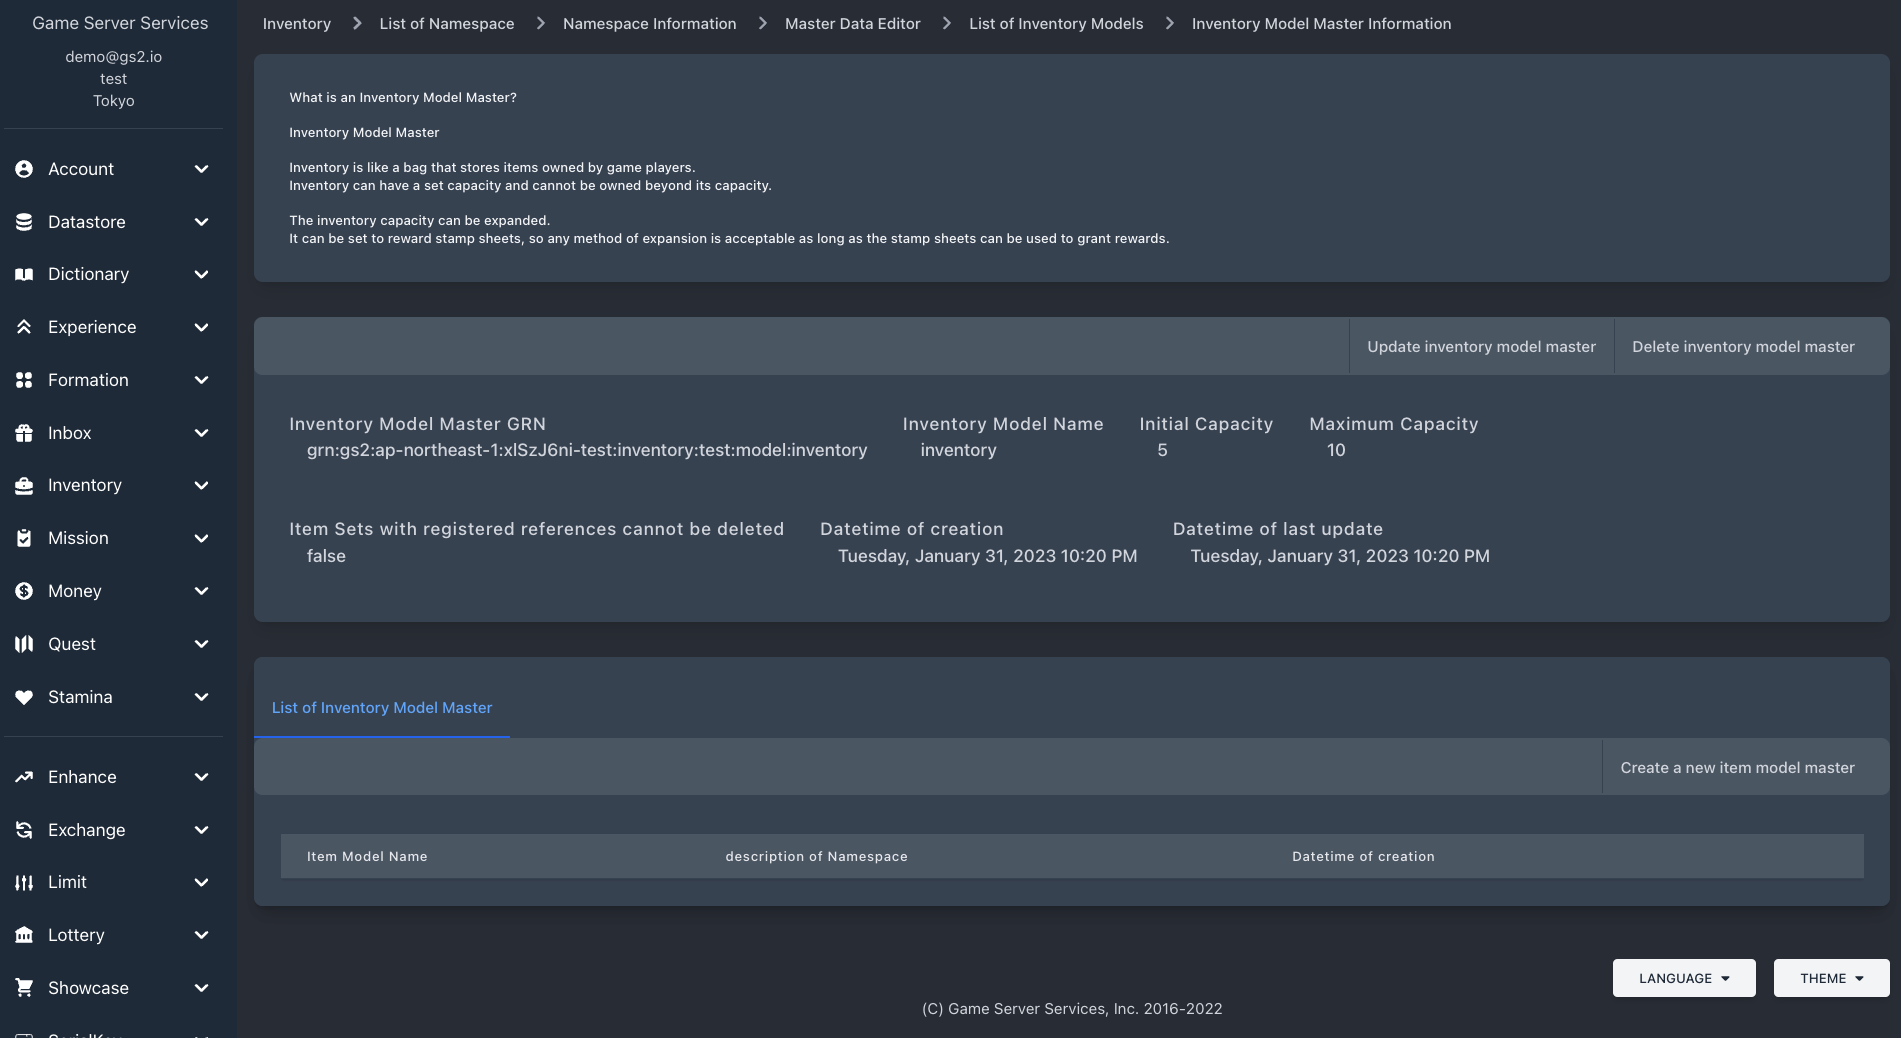
Once you open the Inventory Model detail page, the next menu item is to create an Item Model. Select it to create an Item Model.
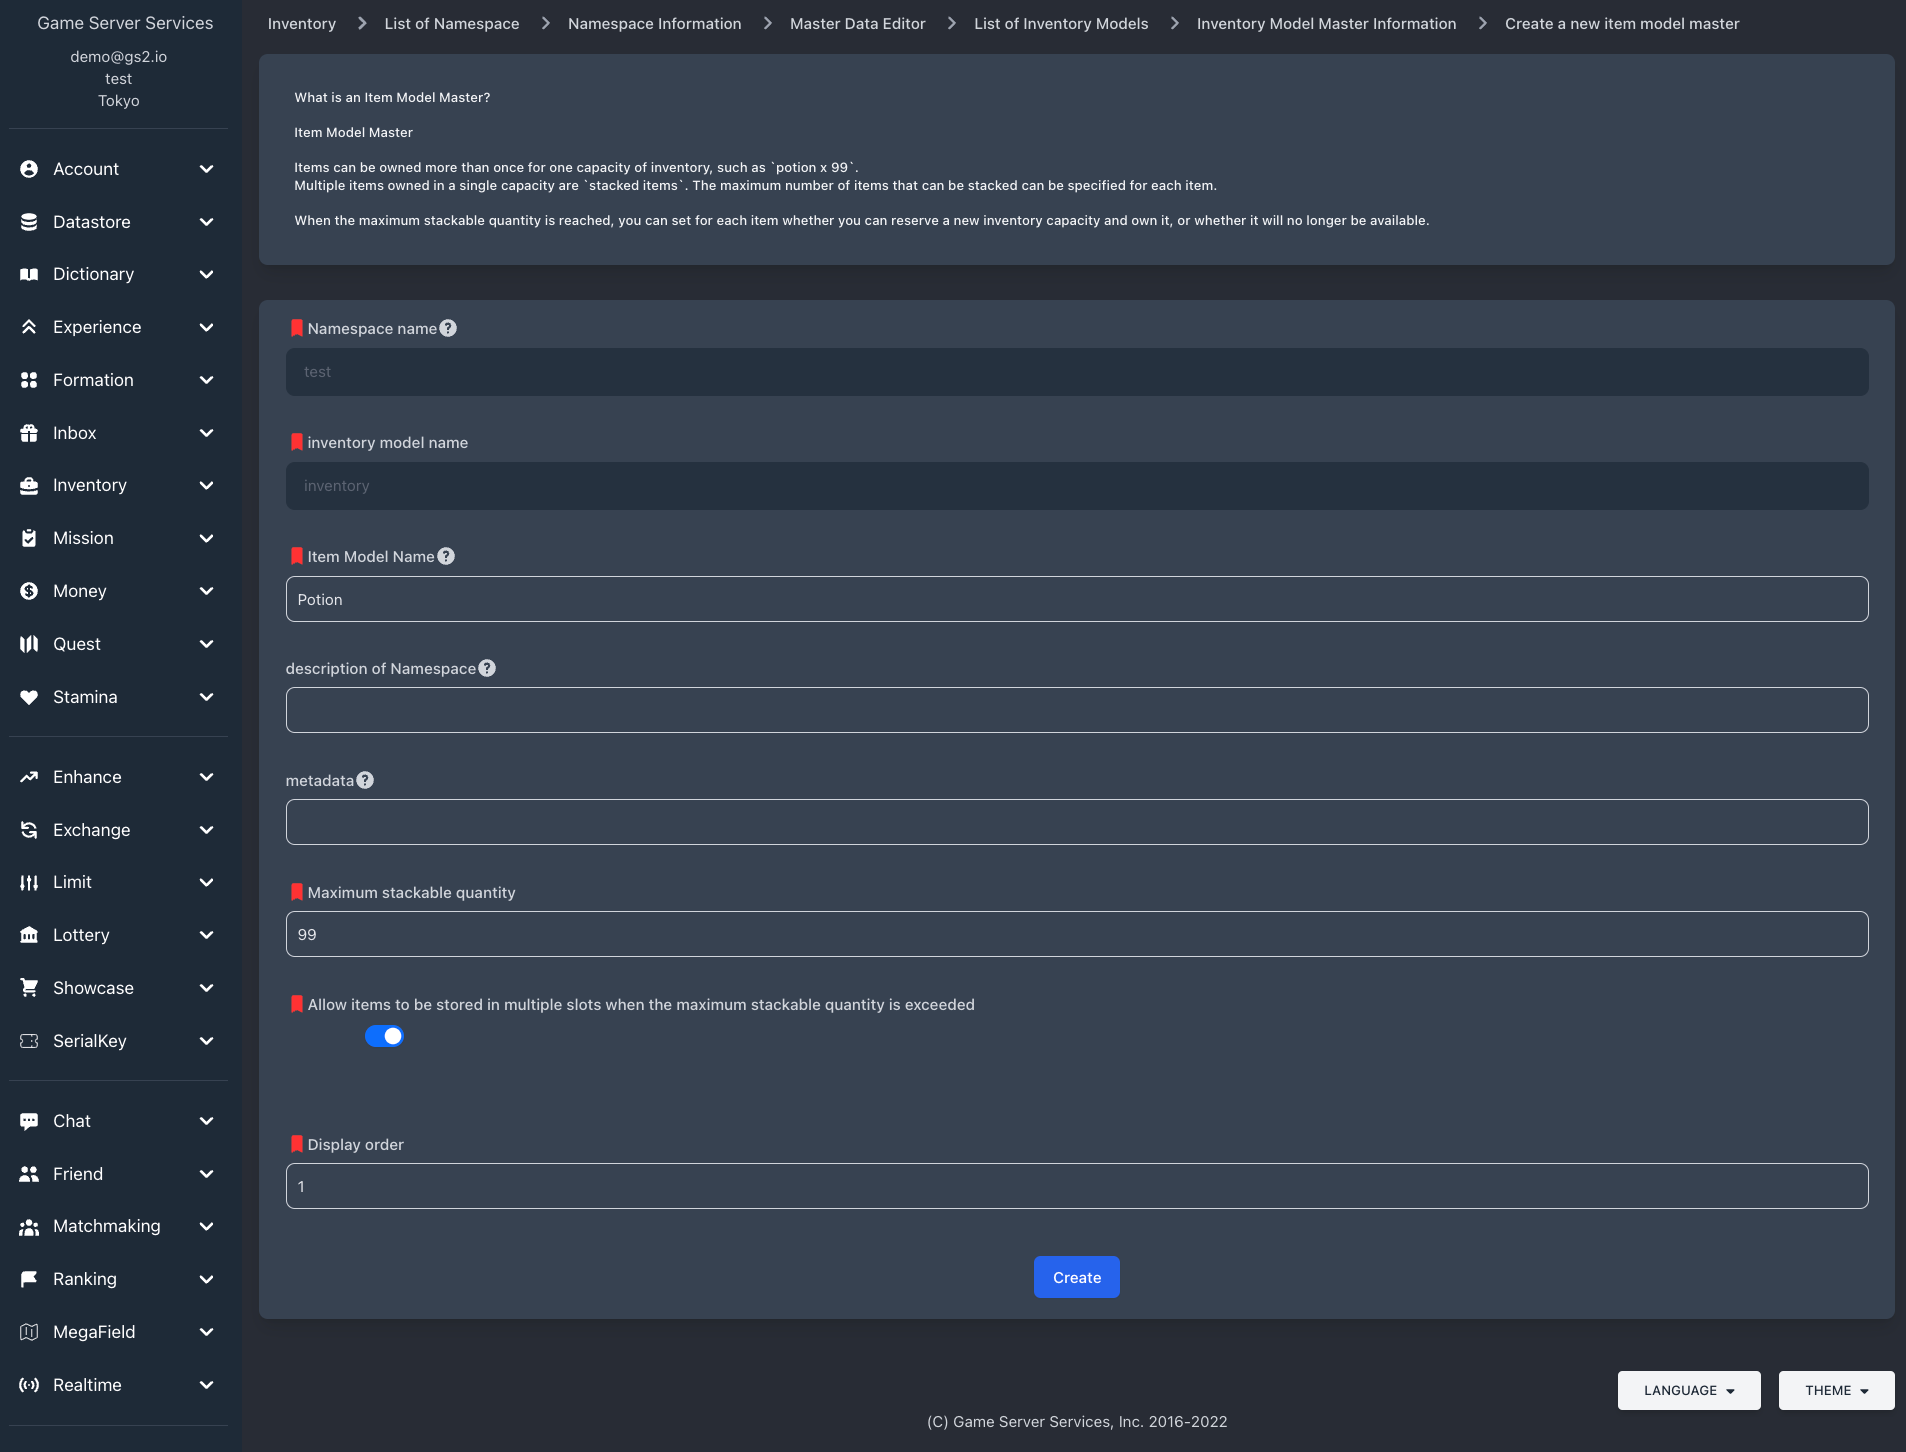
Enter values for each item and press the Create button.
Exporting Master Data
After registration, export the master data. Return to the namespace details page and select the Master Data Editor tab.
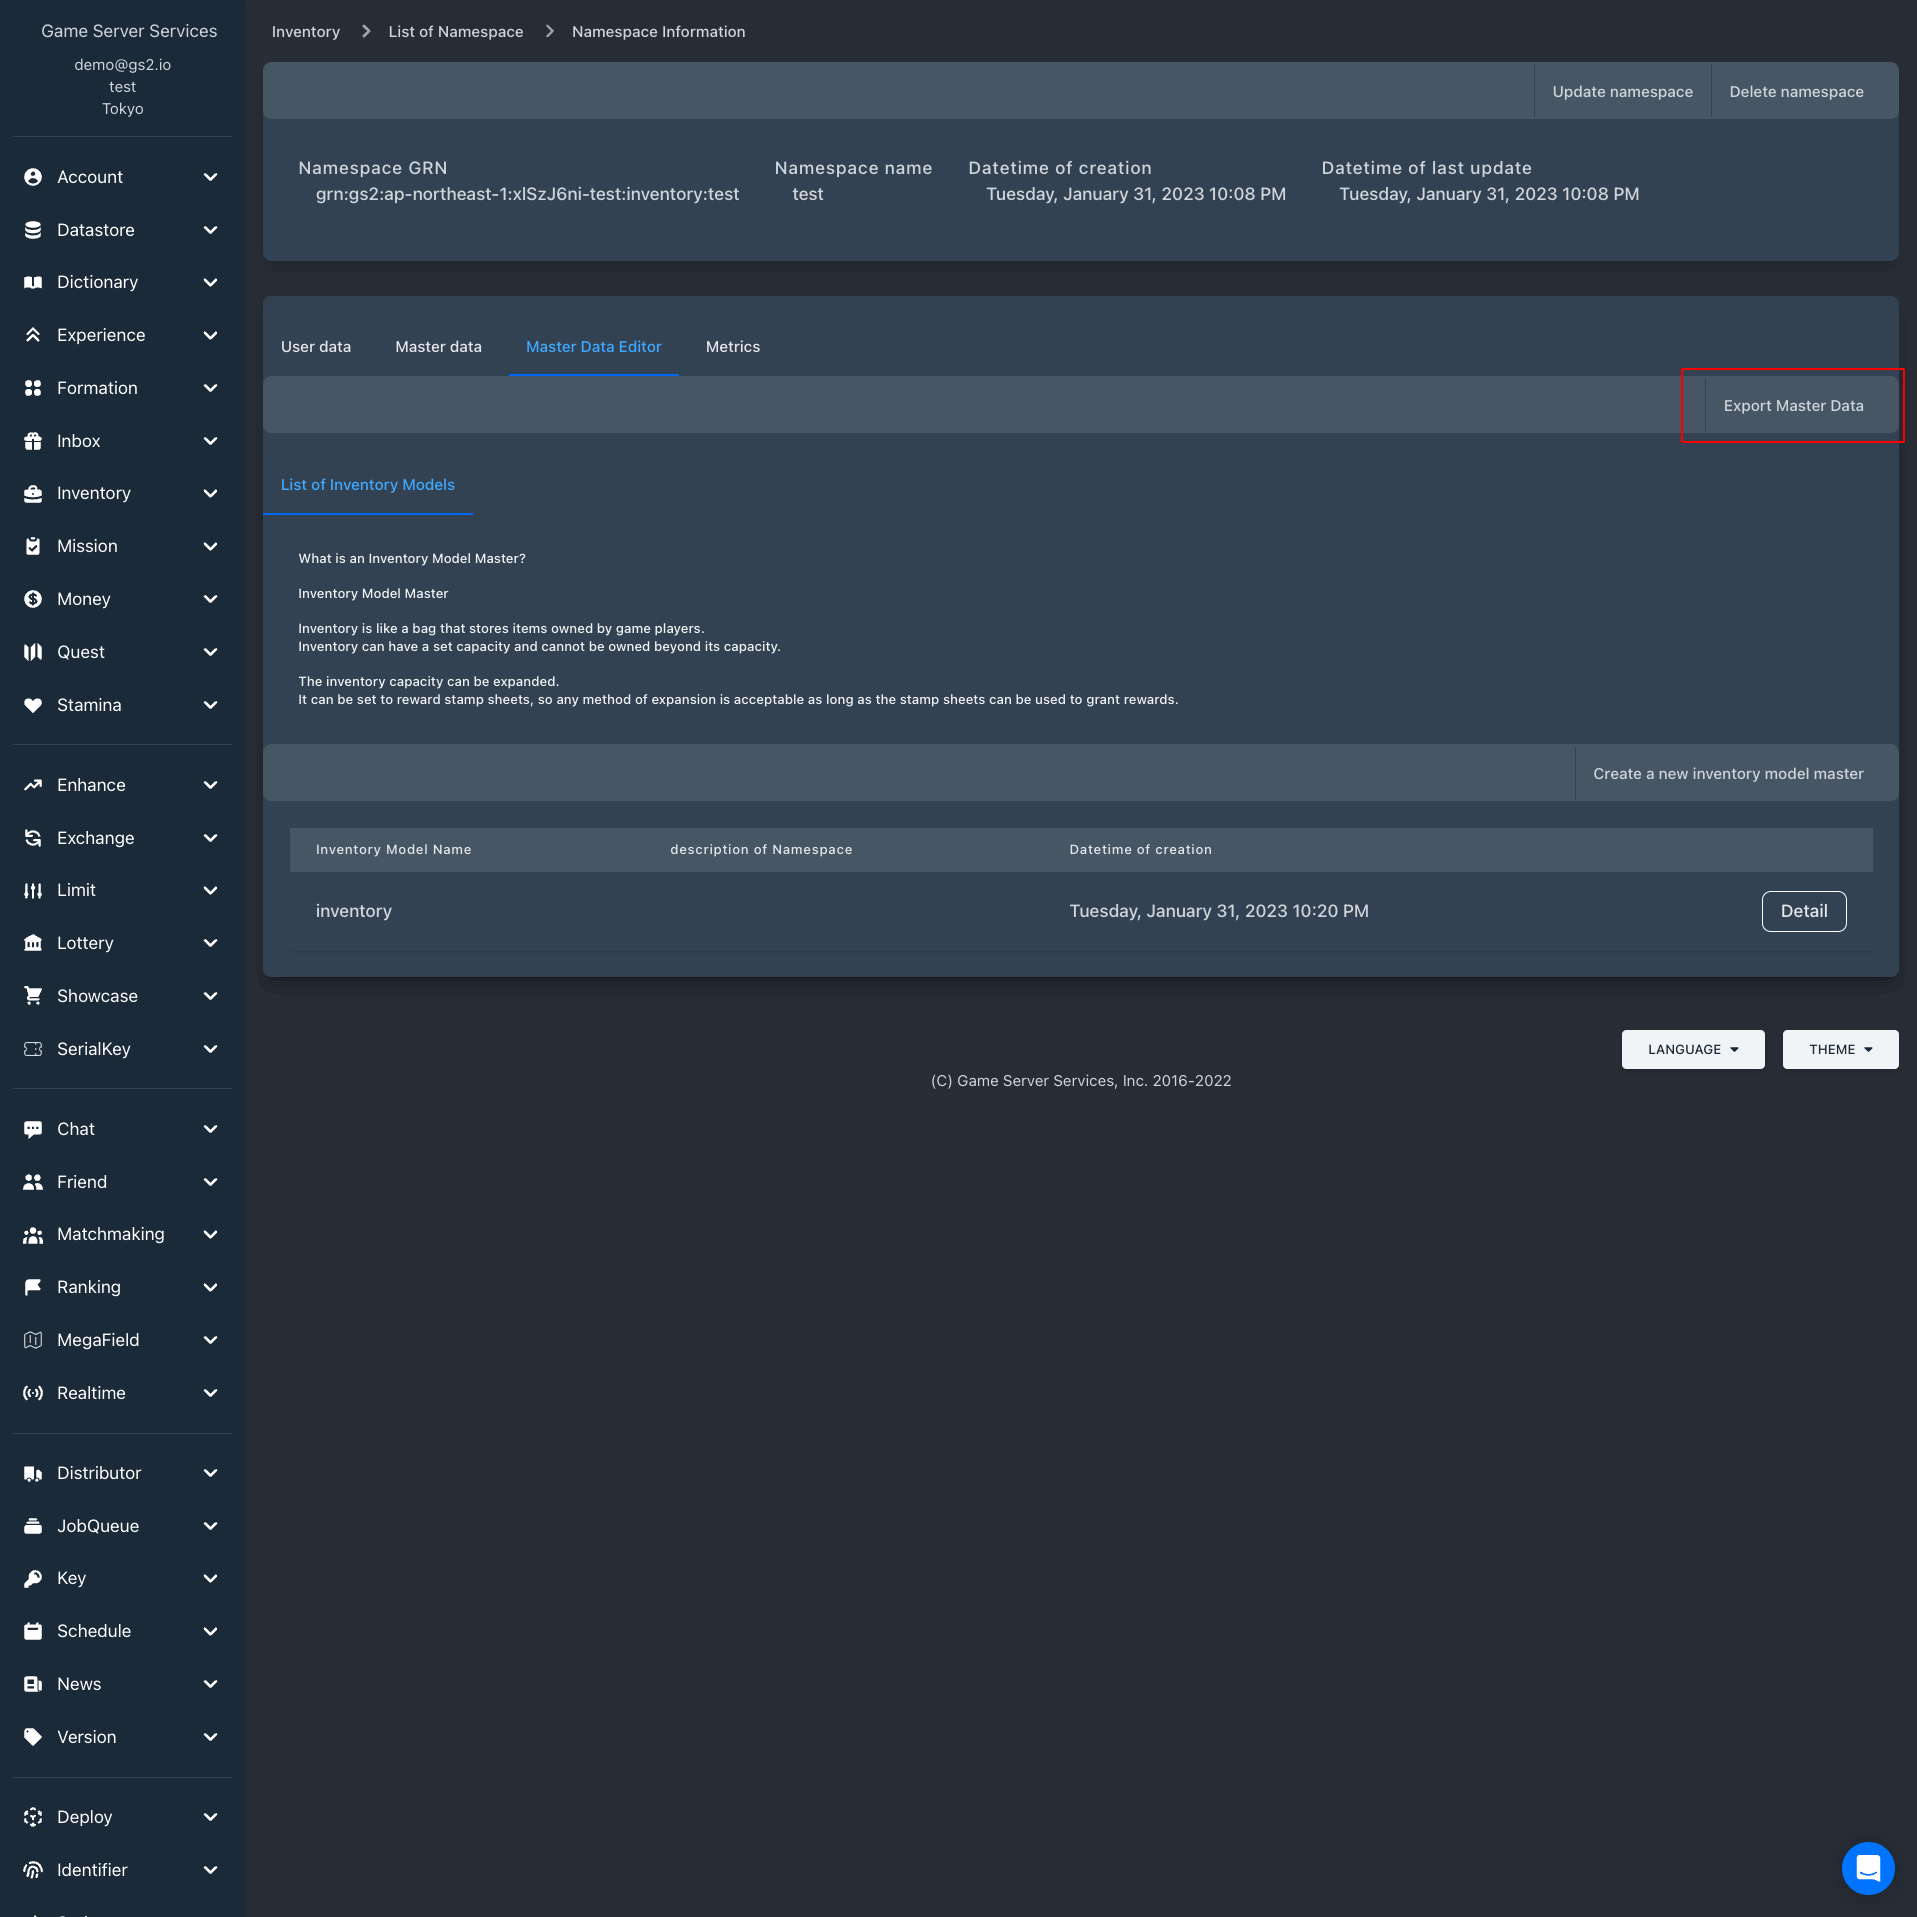
Press the Export button at the top of the tab pane.
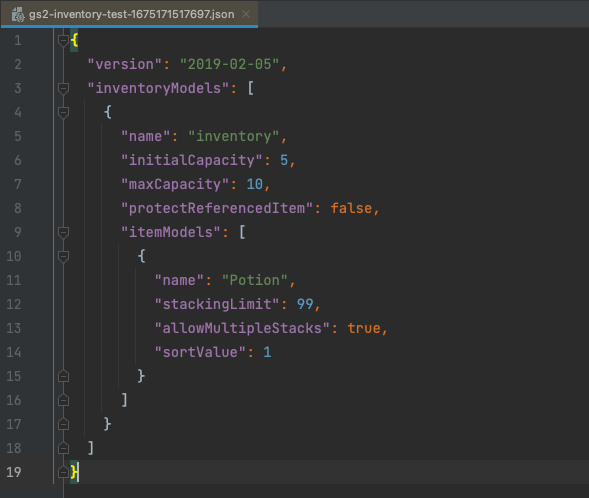
A JSON file of the master data will be exported.
Master data is managed in such a JSON file.
Therefore, you do not necessarily need to use the Master Data Editor in the Management Console, but can prepare a program to export master data managed in a spreadsheet.
The JSON format of the master data is described in detail in the programming guide for each microservice.
Reflecting Master Data
Select the “Master Data” tab again, where an error occurred earlier that there was no master data registered.
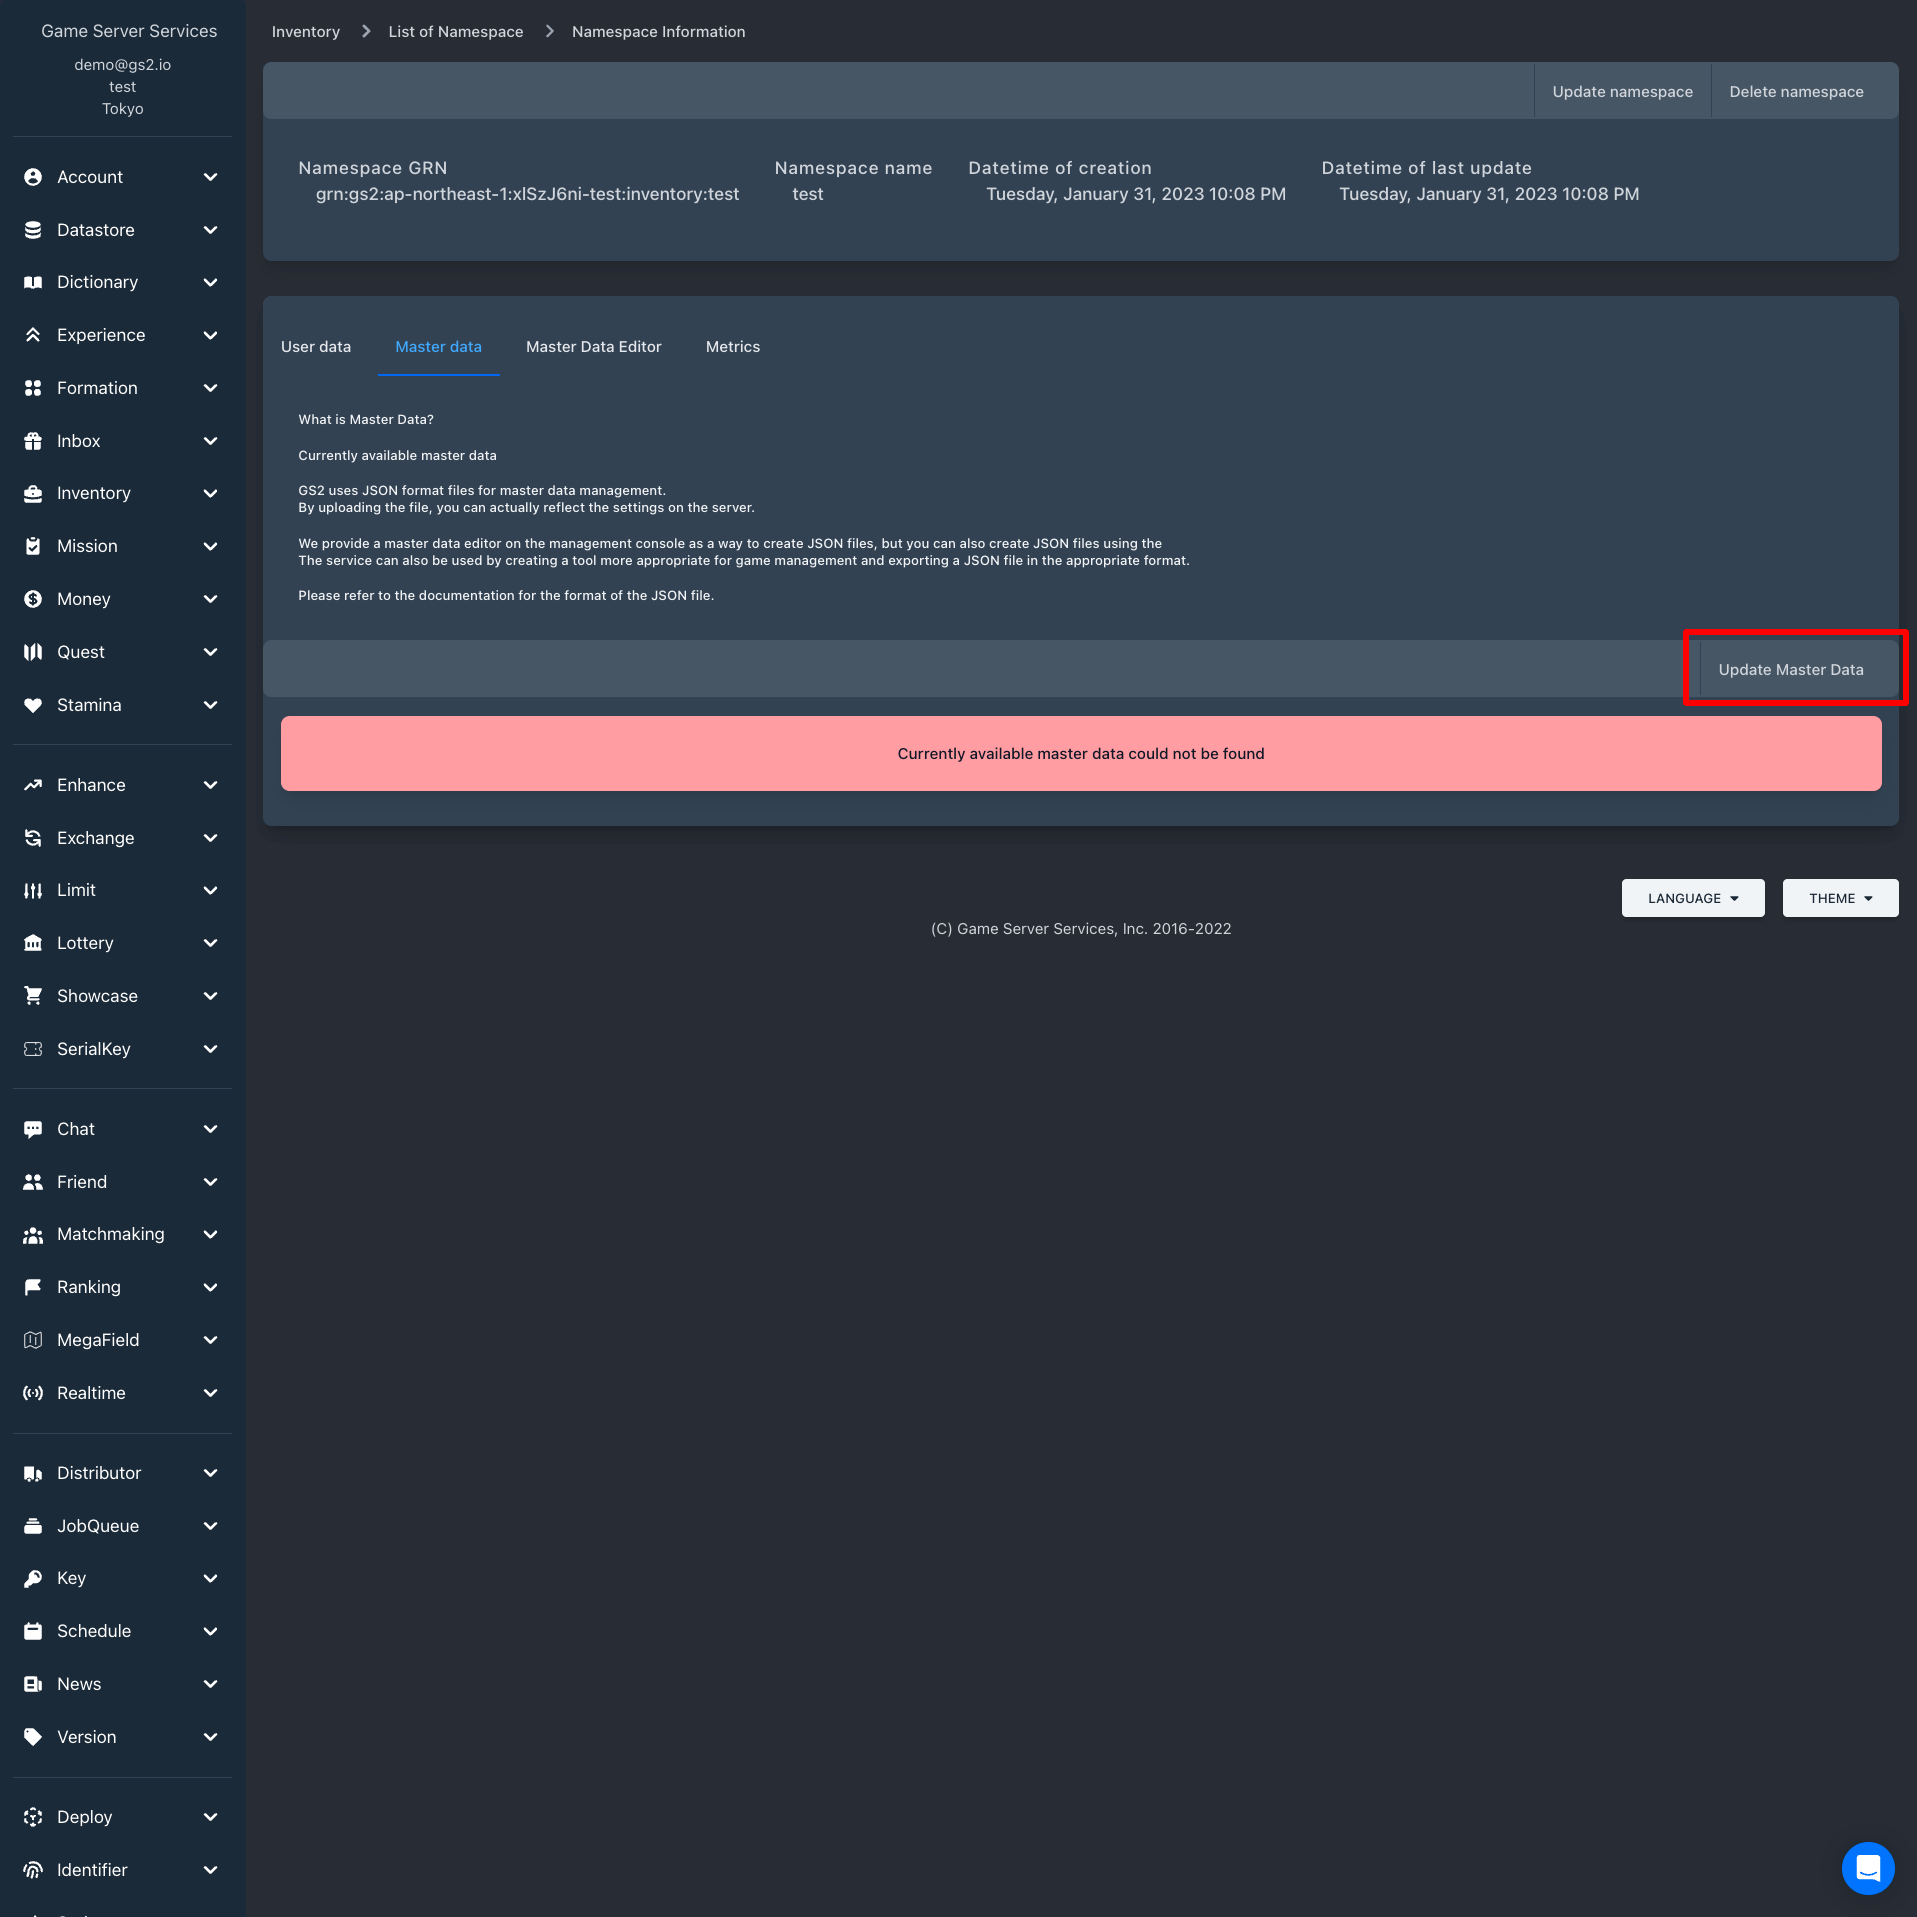
Select the menu for uploading master data.
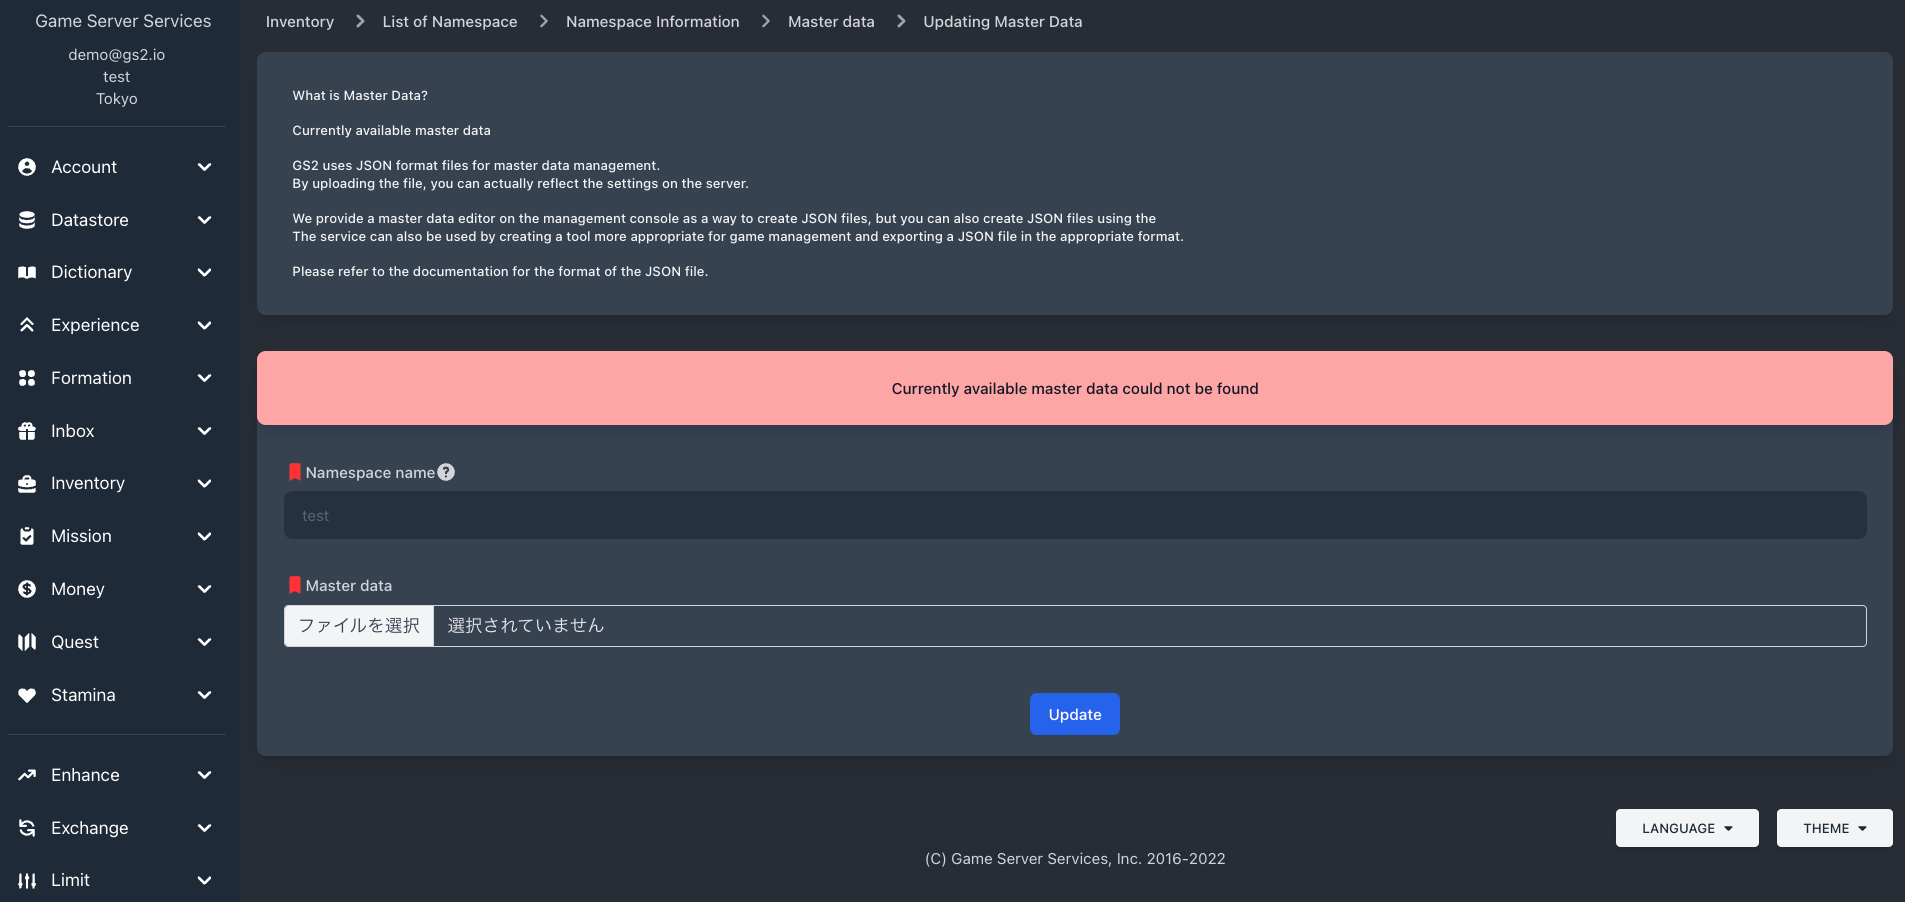
Select the exported JSON file to upload.
Reflection is complete when the master data is displayed.
All microservices that require master data registration can register and update master data in this way.