> For the complete documentation index, see [llms.txt](/llms.txt)
# Prepare your development environment
Create a GS2 project and Unity scene, and find the connection credentials.
Prepare a GS2 tutorial project and an empty Unity scene. The GS2 account created here is a developer account for managing game settings.
Screenshots show the Japanese interface. The steps below use English interface labels.
## 1. Register with GS2
Register a developer account on the GS2 website (new tab). Verify your email address using the link you receive, then log in to the management console (new tab).
## 2. Create a tutorial project
1. Open **Project → Project list → Create project**.
2. Enter `adventure` as the name and “Adventure game practice” as the description.
3. Select **Tokyo** as the first region to enable. The tutorial code also connects to Tokyo (`ap-northeast-1`).
4. Review the plan and other details, then click **Create**.
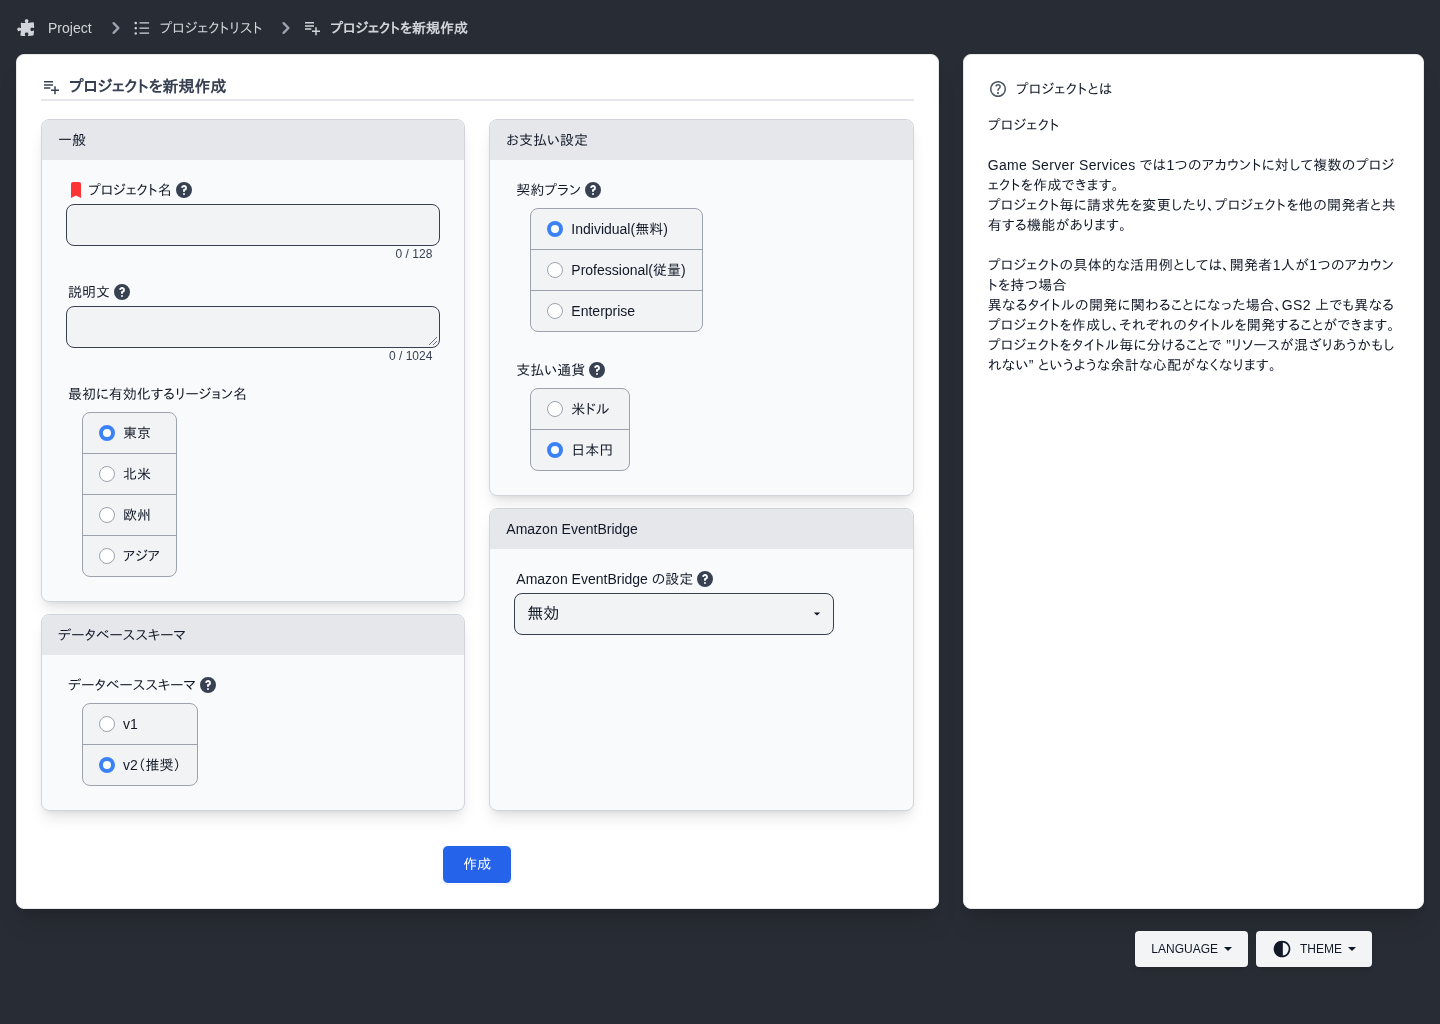
Project names can contain letters, numbers, hyphens, and underscores. If you already have a tutorial project, you can use it with the Tokyo region enabled.
## 3. Find the connection credentials for Unity {#credentials}
In your project's Tokyo region, open **Deploy → Stack list → Default → Output list**. Use these two values in Unity's connection settings.
| Output name | Unity field |
| --- | --- |
| `ApplicationClientId` | Client ID |
| `ApplicationClientSecret` | Client Secret |
## 4. Prepare Unity and tools
Create an empty Unity project and save the scene as `Adventure`.
With **Studio**, you choose features in the app and enter settings in tables. With **SDK (Unity)**, you write GS2 settings and C# code yourself. Select a tab below to see the setup steps for that approach.
**Studio**
1. Install the desktop app from the GS2 Studio download page (new tab).
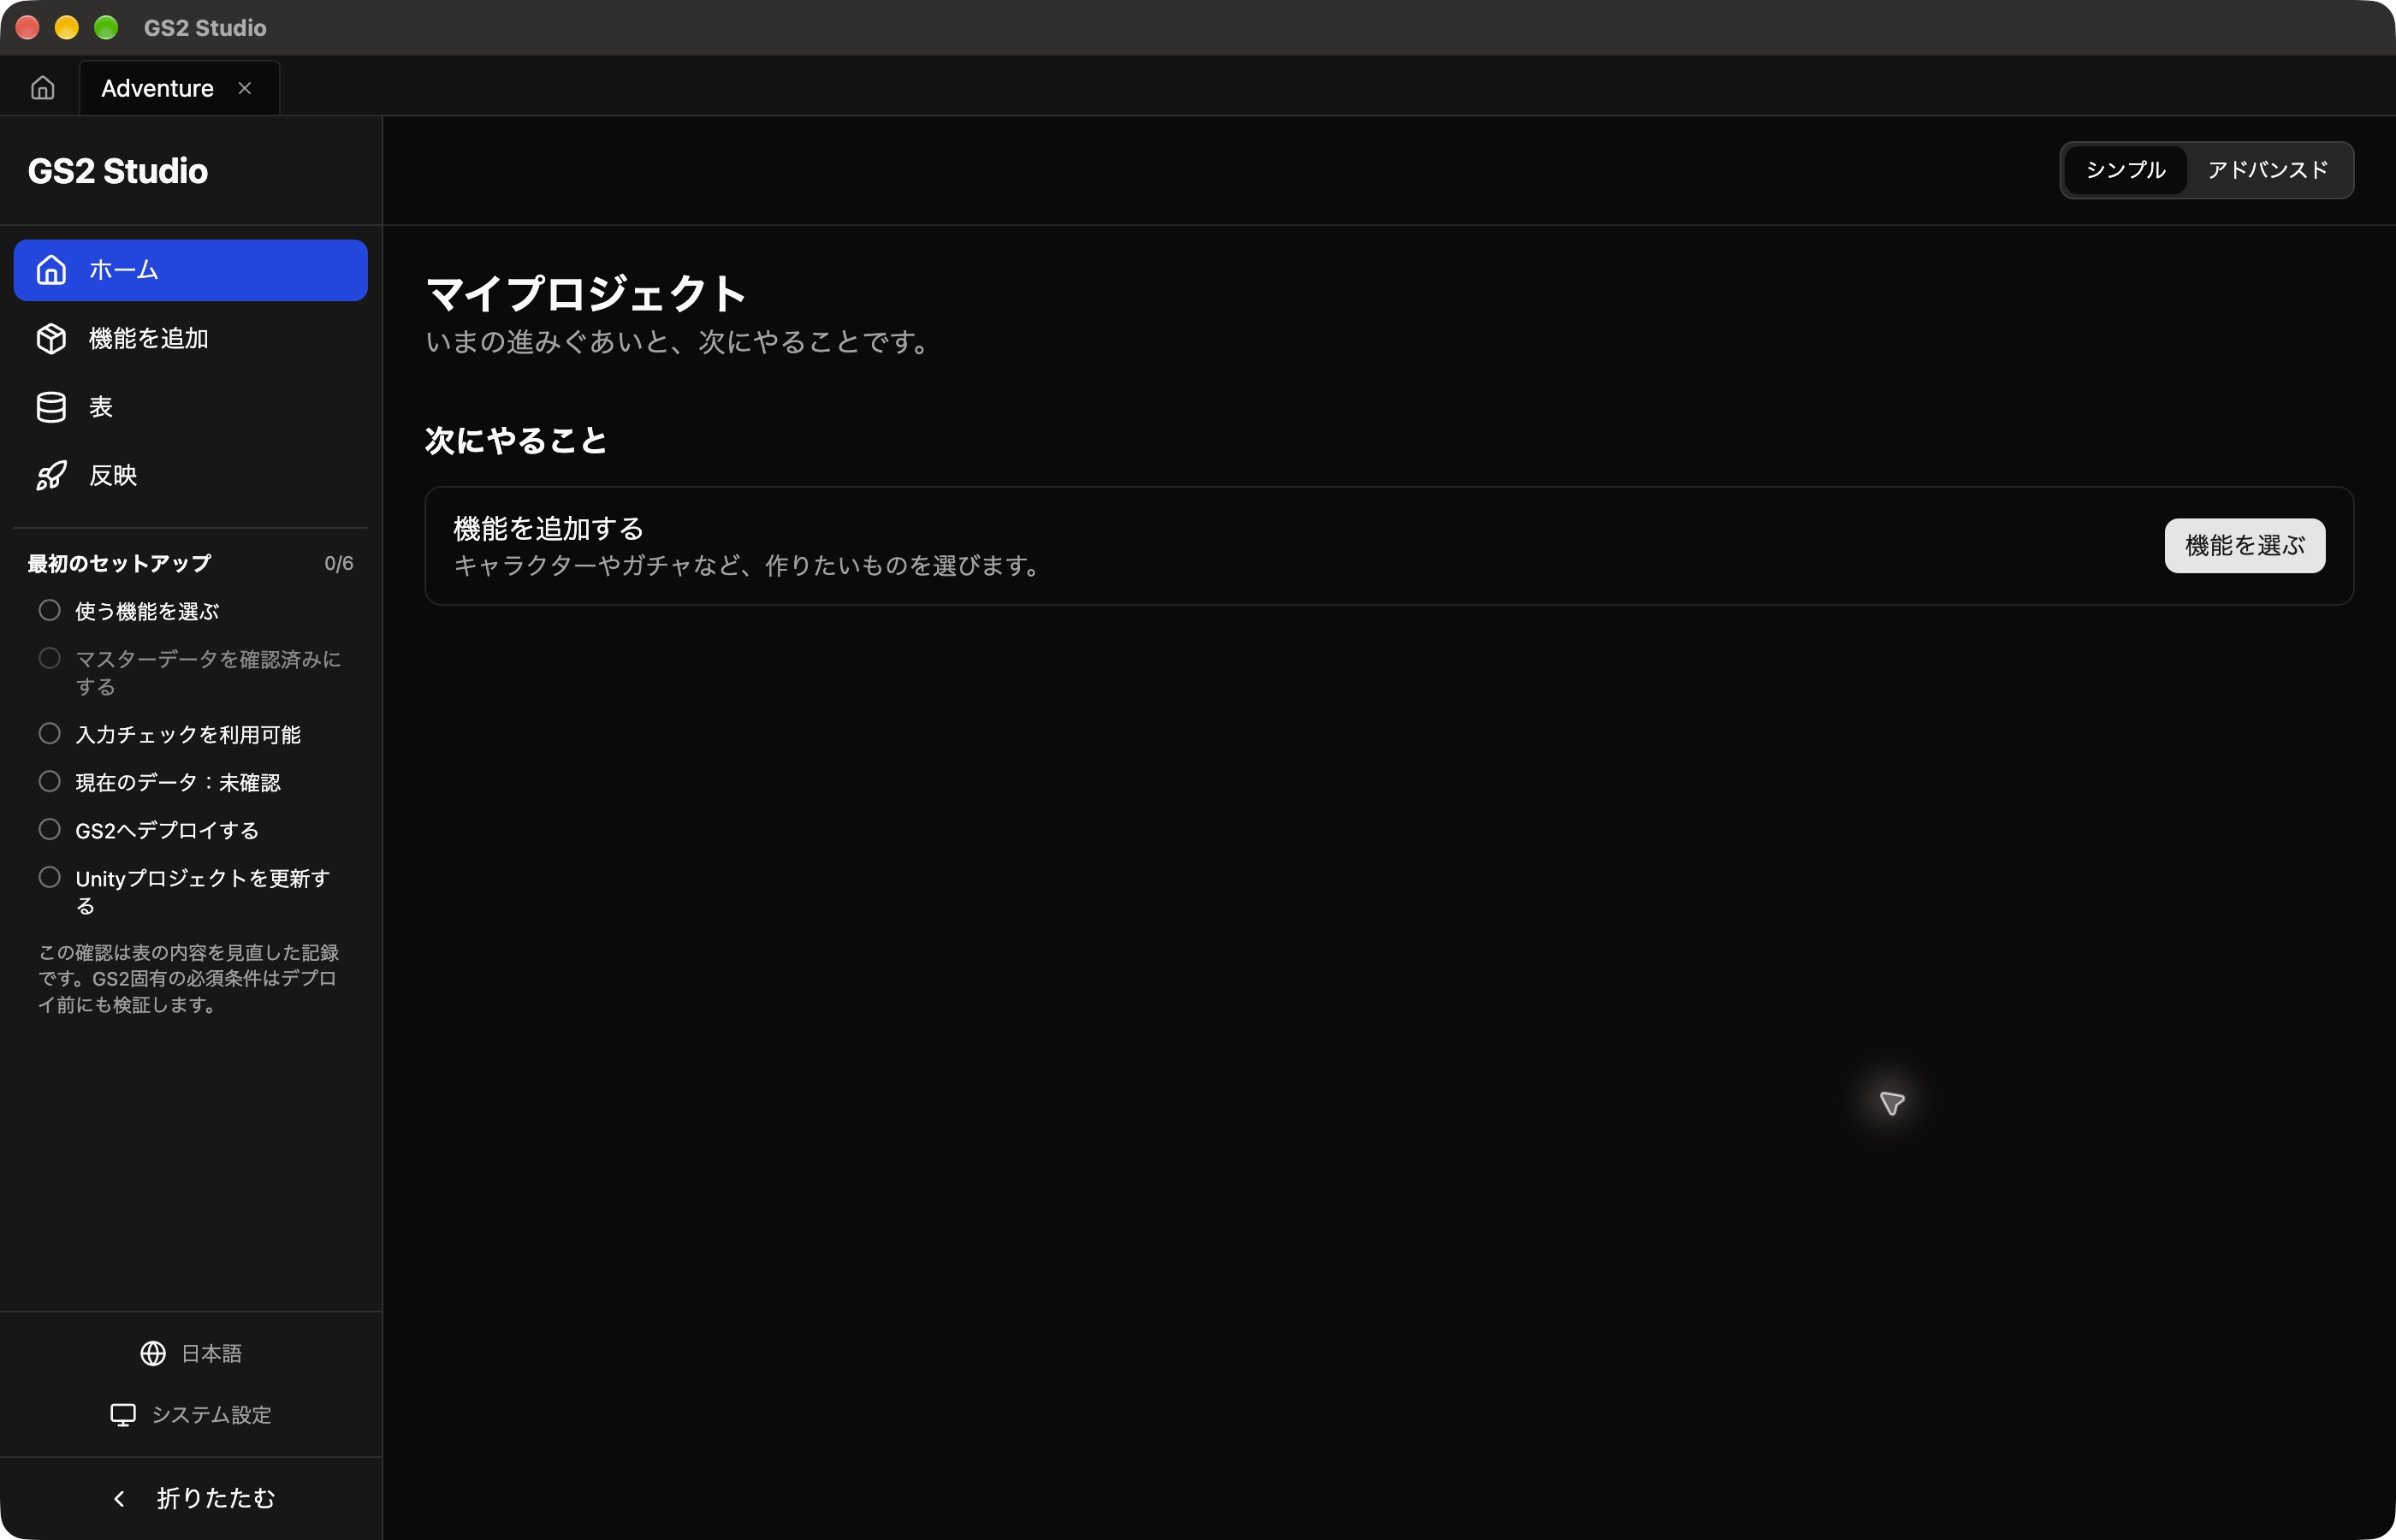
2. On the start screen, choose **Create project**, name it `Adventure`, and choose a folder. This project stores the design files on your computer.
3. Select **Simple** at the top right. The left sidebar shows **Home**, **Add features**, **Tables**, and **Publish**.
 **SDK (Unity)**
1. Download the [GS2 SDK for Unity installer](/ja/get_start/gs2-unity-installer_2024.4.1.unitypackage).
2. In Unity, choose **Assets → Import Package → Custom Package…**, select the downloaded file, and click **Import**.
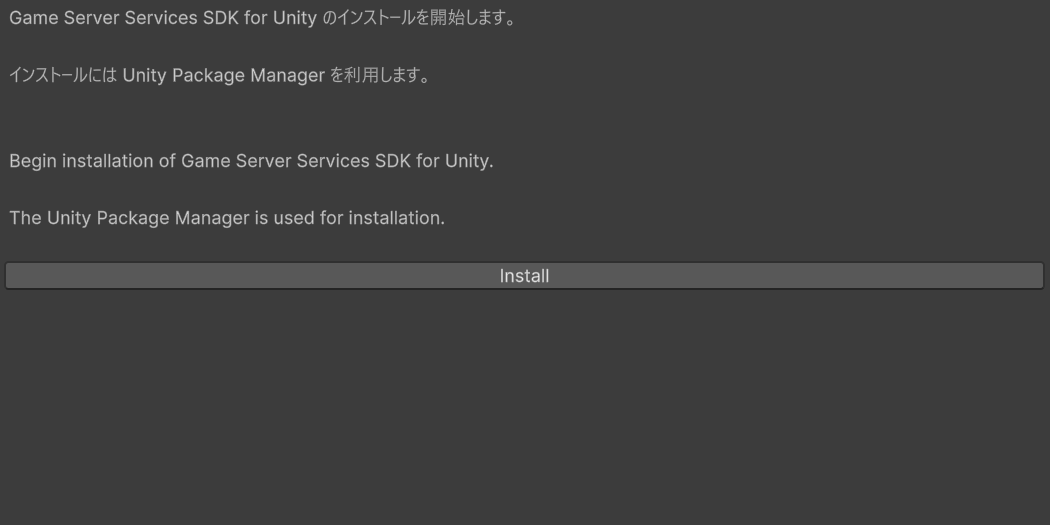
3. Open **Window → Game Server Services → SDK Installer** and click **Install**.
4. In **Window → Package Manager**, check that **GS2 C# SDK** and **GS2 SDK for Unity** have been added.
### Install UniTask
The SDK examples in this tutorial use UniTask's `async` / `await`.
1. In **Window → Package Manager**, search the installed packages for **UniTask**.
2. If it is not installed, open **+ → Install package from git URL…**, enter the following URL, and click **Install**.
```text
https://github.com/Cysharp/UniTask.git?path=src/UniTask/Assets/Plugins/UniTask#2.5.11
```
Once importing finishes, you can use SDK methods such as `LoginAsync()` and `ModelAsync()`.
[Next: Create an account and log in]()